

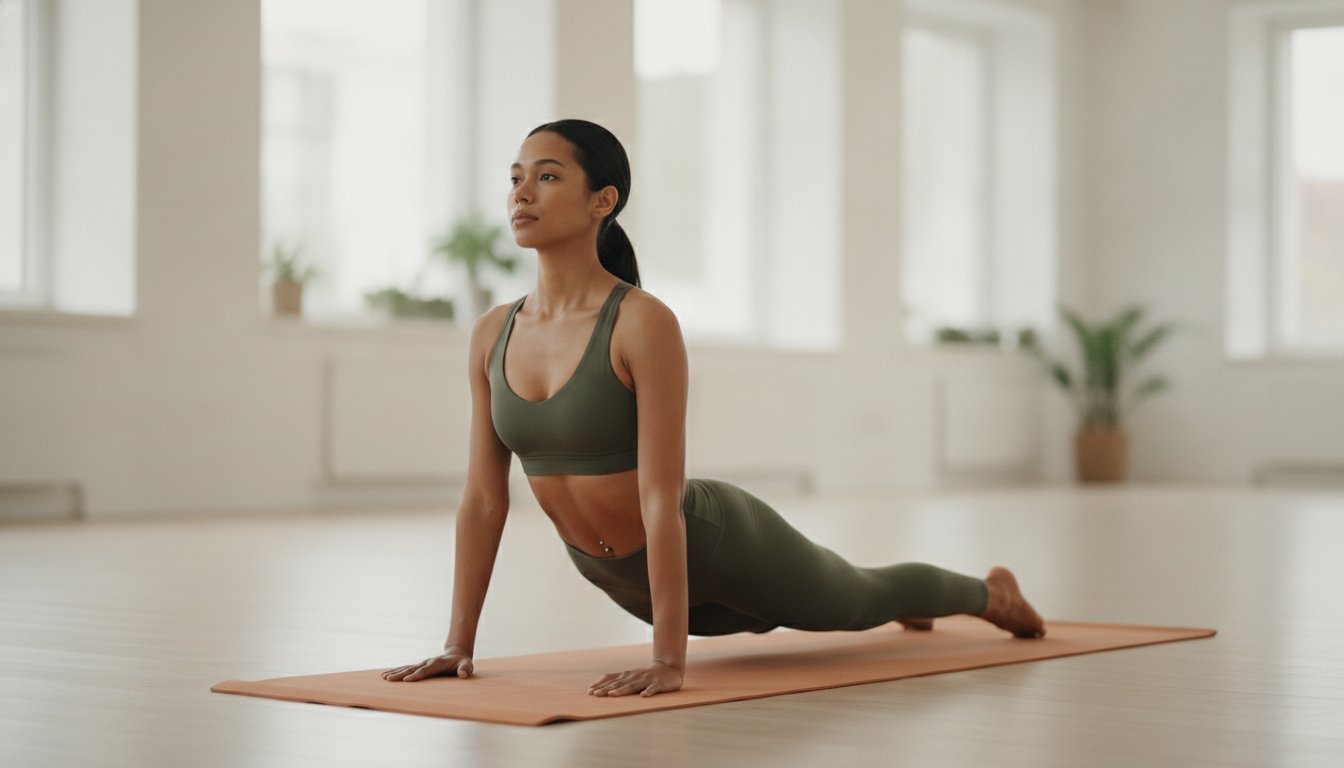
You stand at the edge of the yoga mat, ready for a session, but you hesitate before the first mountain climber. The memory of the piercing needle is fresh; your high-waisted leggings suddenly feel like a restrictive barrier. It's a common crossroads for the dedicated athlete. You deserve a lifestyle that balances physical performance, personal expression, and dermatological safety. Exercising with a new navel piercing requires a specialized strategy that prioritizes stability, hygiene, and patience.
We understand the anxiety of a potential snag or the fear that sweat might invite unwanted bacteria into a healing wound. This guide provides the professional clarity you need to maintain your fitness routine without risking infection, migration, or irritation. You'll learn the essential timeline for returning to high-impact movement and the precise post-workout cleaning steps using sterile 0.9% saline solution. We cover everything from protective clothing choices to the specific signs of healthy healing versus irritation. By following this expert-led framework, you can protect your jewelry while staying committed to your athletic peak.
Key Takeaways
- Prioritize a 72-hour rest period immediately after your procedure to establish vascular stability and allow the initial fistula to form without disruption.
- Adopt the "Low-Rise Rule" by ensuring all athletic waistbands sit at least two inches below the site to prevent mechanical stress and jewelry snags.
- Master the safest techniques for exercising with a new navel piercing, including a gradual transition from low-impact movement to full core training.
- Follow a rigorous two-step post-workout hygiene routine that uses sterile saline spray to neutralize sweat and bacteria as soon as your session ends.
- Learn to distinguish between expected exercise-related redness and the critical warning signs of jewelry migration to ensure your piercing remains secure.
The Anatomy of Impact: Why Navel Piercings Require Special Care
The navel is the physical axis of your body's movement. When you begin exercising with a new navel piercing, you are introducing a foreign object into a zone of constant contraction and expansion. Unlike an earlobe, which remains relatively static, the midsection is subject to intense mechanical stress during every breath, twist, and lift. This movement directly impacts the fistula, which is the delicate skin tunnel that forms the foundation of a permanent piercing. For this tunnel to epithelialise correctly, it requires a stable, undisturbed environment. Movement is the enemy of stability. Hygiene is the partner of health.
Because the tissue is surface-adjacent, the body is naturally inclined to treat the jewelry as a splinter it wants to expel. Research on Navel piercing healing times suggests that full maturation can take anywhere from six months to a year, and in some cases, up to two years. During this period, the internal walls of the piercing are incredibly fragile. Constant friction doesn't just cause discomfort; it disrupts the cellular repair process at a microscopic level. Success requires a commitment to three pillars: protection, stabilization, and purity.
The Risk of Migration and Rejection
High-impact movement acts as a catalyst for migration. When you engage in core-heavy exercises, the skin around the navel bunches and stretches. This creates a seesaw effect on the barbell, where the jewelry is constantly tilted and pulled. High-waisted leggings are a primary culprit for athletes. They apply consistent upward pressure on the bottom ball of the jewelry, which signals the body that the metal is an intrusive threat. Over time, the skin between the entry and exit points thins. If you ignore persistent redness or a visible shortening of the barbell, the piercing may eventually reject entirely. Athletes are at a higher risk for this outcome because their lifestyle involves repetitive mechanical strain that most people avoid.
Sweat, Bacteria, and the Micro-Environment
Sweat is a chemical irritant for a fresh wound. It contains salts, oils, and metabolic waste products that can sting and inflame healing tissue. The danger intensifies when sweat is trapped against the skin by non-breathable fabrics. This creates a warm, moist micro-environment where bacteria like Staphylococcus thrive. Clean sweat is rarely the issue; the problem is the stagnant pool of moisture that forms under tight waistbands. Prioritizing breathability in your gym wardrobe is a fundamental requirement for health. You must ensure your clothing allows air to circulate, preventing the buildup of "gym germs" that cause localized infections. Protect your progress. Sanitize your skin. Flourish in your fitness journey.
The Recovery Timeline: When to Return to the Gym
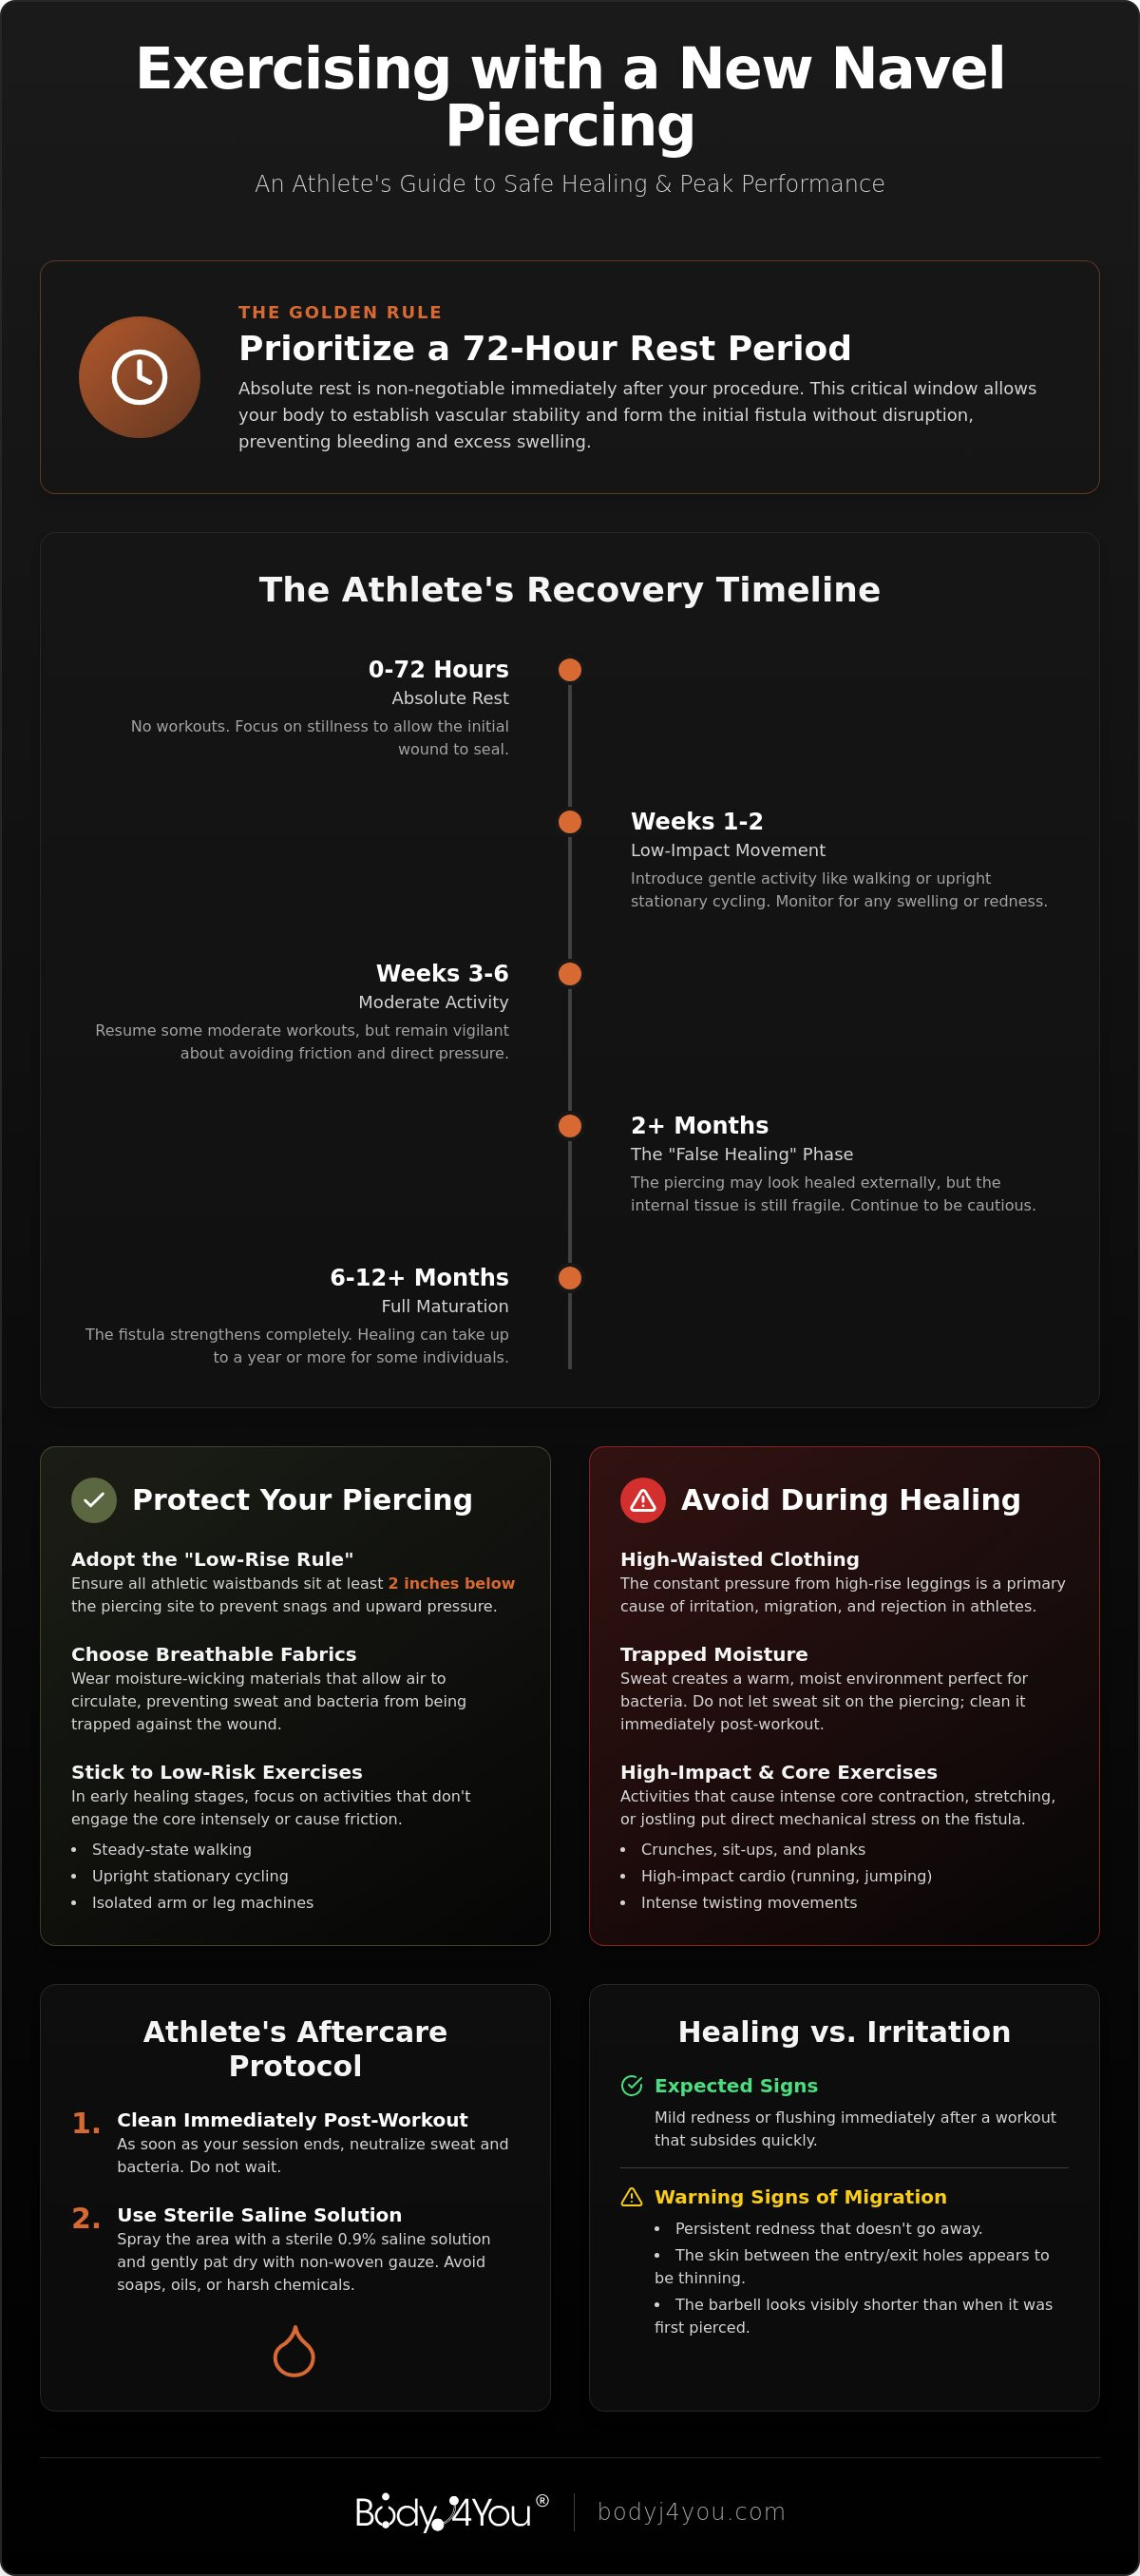
Healing is a biological progression, not a race. For the first 48 to 72 hours after your procedure, absolute rest is non-negotiable. This window is critical for establishing vascular stability. Your body is working to seal the initial wound; any spike in blood pressure or sudden core contraction can lead to localized bleeding or prolonged swelling. During this period, prioritize stillness. Think of yourself as a guardian of your own recovery. Rushing into the gym too soon often results in a setback that adds weeks to your total healing time.
From weeks one to two, you can begin introducing low-impact movement. While the APP aftercare guidelines suggest that sweating during healing is generally acceptable, they explicitly warn against activities that jostle or aggravate the site. Monitor your navel daily for localized swelling. If the area feels "tight" or looks significantly more flushed after a walk, it's a signal to scale back. By weeks three to six, most athletes can resume moderate activity, provided they are vigilant about friction management. However, be wary of the "false healing" phase that typically begins around month two. The piercing might look perfectly calm on the surface, but the internal tissue is still fragile. It can take three to four months for visible improvement to stabilize, and a full six to twelve months for the fistula to mature completely.
Type of Exercise and Risk Levels
Every workout impacts your midsection differently. Categorizing your routine helps you manage risk effectively:
- Low Risk: Steady-state walking, stationary cycling with an upright posture, and isolated arm or leg machines that don't require core stabilization.
- Moderate Risk: Light jogging on flat surfaces, swimming (only if using a waterproof seal), and controlled weightlifting that avoids overhead presses.
- High Risk: Crunches, sit-ups, yoga twists, HIIT sessions, and contact sports. These movements create the "seesaw" effect on the jewelry that leads to rejection.
Listening to Your Body’s Biofeedback
You must learn to differentiate between typical muscle soreness and piercing-specific pain. Muscle soreness is a dull ache; piercing pain is often sharp, hot, or throbbing. If you notice increased redness or a clear discharge immediately after exercising with a new navel piercing, your body is telling you the intensity is too high. A "one size fits all" timeline is dangerous because individual metabolic rates and lifestyle factors vary. Stay disciplined in your observations. If the site feels irritated, using sterile piercing cleaning swabs can help soothe the area and remove debris after a light session. Trust the process, but respect the biology of the wound.
Strategic Shielding: Clothing and Gear for Active Healing
Your gym wardrobe is no longer just about performance; it's now a protective barrier for your recovery. When you are exercising with a new navel piercing, the "Low-Rise Rule" is your most effective defense. You must ensure that all waistbands sit at least two to three inches below the piercing site. This prevents the constant mechanical rubbing that leads to irritation and potential migration. High-waisted compression gear might feel supportive, but it creates a crushing environment for a healing fistula. Loose, natural fibers are the Wise Guardian’s choice for post-piercing recovery.
The debate between moisture-wicking synthetics and traditional cotton is nuanced. While cotton is breathable, it tends to absorb and hold moisture against the skin, which can lead to bacterial buildup. High-quality moisture-wicking fabrics are often superior because they pull sweat away from the wound, keeping the micro-environment dry. However, you must be vigilant about the texture of your gear. Avoid loose mesh or lace inserts near the midsection. These fabrics are notorious for snagging on jewelry during vigorous movement, which can cause immediate trauma to the piercing site. Prioritize smooth, snag-free surfaces. Protect the site. Ensure your comfort. Stabilize your healing.
Using Protective Barriers Safely
For athletes involved in contact sports or activities with a high risk of impact, specialized shielding is necessary. A common professional recommendation is the "Hard Eye Patch" trick. By taping a vented, hard plastic eye patch over the navel, you create a rigid dome that protects the jewelry from being crushed or snagged without applying direct pressure. You can find similar advice in the Association of Professional Piercers aftercare guidelines, which emphasize the importance of airflow. If you use a bandage, it must be vented. Never leave a protective cover on longer than the duration of your workout. Trapping heat and moisture for extended periods is a recipe for infection.
Jewelry Considerations for Athletes
The jewelry you wear during your fitness journey significantly impacts your success. Many athletes find that a slightly shorter barbell reduces the "lever effect," where the jewelry is easily tilted by movement. You should also prioritize biocompatible materials to minimize the risk of allergic reactions or irritation. Exploring BodyJ4You jewelry collections can help you identify high-quality, internally threaded options that provide a smoother surface for the healing tissue. Until you hit the six-month mark, avoid dangling charms, heavy gems, or intricate designs. These add unnecessary weight and increase the likelihood of catching on your clothing during a workout. Simple, high-polish barbells offer the safest path to a fully healed piercing.
The Athlete’s Aftercare Protocol: Post-Workout Hygiene
Once your heart rate begins to stabilize, your secondary workout begins: the preservation of your piercing's integrity. Successfully exercising with a new navel piercing depends on the precision of your post-workout hygiene. Sweat is a natural byproduct of effort, but it is also a chemical irritant that can stall your progress. You must act quickly to restore the biological balance of your skin. This protocol is designed to neutralize threats before they become complications.
Your hygiene routine should follow a logical, four-step progression. First, perform an immediate rinse in the shower using lukewarm water to gently wash away surface sweat and salt. Avoid high-pressure jets directly on the navel. Second, apply a sterile saline spray for piercings to flush the fistula. This ensures that any bacteria pushed into the tunnel during movement is effectively removed. Third, prioritize the dry-down. Moisture is the enemy of healing tissue; use a hair dryer on a "cool" setting to ensure the area is bone-dry without using a bacteria-laden towel. Finally, monitor the site for "gym-induced" bumps or unusual discharge that persists longer than an hour after your session.
The Role of Saline in Recovery
Isotonic saline, specifically a 0.9% sodium chloride solution, is the only liquid that perfectly mimics your body's internal chemistry. It cleanses without stinging. It heals without dehydrating. Many athletes fall into the "DIY Salt Mistake," attempting to mix their own solutions at home. These homemade mixtures are often too abrasive, causing micro-tears in the delicate new skin forming inside the navel. A portable, pressurized saline spray fits seamlessly into any gym bag, providing a sterile, convenient way to manage your aftercare the moment you leave the weight room.
Managing Piercing Bumps and Irritation
It is vital to distinguish between a "friction bump" and a true infection. A friction bump is often a small, flesh-colored or red elevation caused by the jewelry rubbing against your clothes during core work. If you notice exercise-induced inflammation, applying a specialized piercing bump treatment oil can help soothe the tissue and reduce redness. For daily maintenance, piercing cleaning swabs are essential for removing "crusties" or lymph fluid without irritating the site with your fingers. Precision. Purity. Protection. Keep your healing on track by using our Saline Piercing Aftercare Spray to maintain a sterile environment through every rep.
Managing Setbacks: Identifying Exercise-Induced Irritation
Even with a meticulous routine, your body may occasionally protest the physical demands of your lifestyle. When you are exercising with a new navel piercing, you must distinguish between a temporary flare-up and a genuine complication. It's common to see slight redness or minor swelling immediately following a heavy core session. This is often a simple inflammatory response to the mechanical tension on the skin. However, if that redness begins to spread or the area feels hot to the touch, you must transition from athlete to patient. Lymph fluid is a healthy sign of white blood cell activity, not a reason for alarm; it typically appears as a clear or pale yellow discharge that dries into a crusty residue.
A critical skill for any active individual is the "Migration Check." Regularly observe the distance between the entry and exit points of your jewelry. If you notice the barbell becoming increasingly visible through the skin, or if the skin itself appears thin and translucent, the jewelry may be moving closer to the surface. This migration is often the result of consistent pressure from waistbands or repetitive bending. If you experience a fever, radiating heat, or see thick green pus, stop exercising immediately and consult a professional piercer or a medical practitioner. Early intervention is the key to preserving both your health and your aesthetic goals.
When to Take a Break
Discipline often means knowing when to stop. We recommend the "3-Day Rule" for all athletes. If irritation, tenderness, or swelling increases for three consecutive days, you must pause your gym routine. Pushing through piercing pain is not a sign of strength; it's a recipe for permanent scarring or total rejection. Use this time to re-evaluate your clothing choices or your exercise form. Perhaps a specific yoga twist is putting too much lateral pressure on the fistula. Stability is health. Rest is recovery. Patience is power.
Long-Term Success and Self-Expression
The journey toward a fully healed navel piercing is a marathon, not a sprint. The reward for your current restraint is a lifetime of beautiful self-expression and a healthy, resilient body. Once the six to twelve month maturation window is complete, you can safely transition to more ornate fashion jewelry. Until then, stay committed to the Wise Guardian approach. By prioritizing the integrity of your skin over fleeting fitness trends, you ensure that your piercing remains a permanent part of your athletic identity. Protect your investment. Honor your body. Flourish in your progress.
Mastering Your Athletic Recovery
Success in the gym doesn't have to come at the expense of your aesthetic goals. By honoring the initial 72-hour rest window, adhering to the low-rise rule for your athletic gear, and maintaining a rigorous post-workout hygiene protocol, you can continue your fitness journey with total confidence. Exercising with a new navel piercing is entirely possible when you prioritize biological stability over high-impact intensity. Remember that patience is your most valuable training tool; a healthy fistula requires a steady environment to thrive, heal, and mature into a permanent statement of self-expression.
At BodyJ4You, we bring over 20 years of industry expertise to your recovery process. Our locally manufactured skincare line is trusted by professional piercers worldwide to provide the clinical precision your skin deserves. We believe in purity, ethics, and efficacy. Don't leave your healing to chance or use abrasive DIY solutions that can irritate your progress. Shop BodyJ4You Sterile Aftercare and Premium Jewelry to ensure your piercing remains as resilient as your workout routine. Stay disciplined, stay protected, and stay inspired as you move toward your peak performance.
Common Questions for the Active Individual
Can I do crunches or core exercises with a new navel piercing?
You should avoid crunches and intense core exercises for at least the first four to six weeks of the healing process. These movements cause the skin to bunch and stretch, which creates significant mechanical stress on the delicate healing fistula. Rushing back into abdominal work can lead to jewelry migration or rejection. Focus on isolated limb movements that keep your midsection stable during the early stages of your recovery.
How do I protect my belly button piercing from sweat during HIIT?
Protecting your piercing from sweat during HIIT involves wearing breathable, moisture-wicking fabrics that pull liquid away from the wound. Sweat contains salts and bacteria that can irritate the site if they remain trapped against the skin. Exercising with a new navel piercing requires an immediate post-session rinse with lukewarm water followed by a sterile saline application. This restores the skin's natural pH balance and flushes out any debris accumulated during high-intensity intervals.
Is it okay to wear high-waisted leggings after getting a navel piercing?
High-waisted leggings are generally discouraged during the first few months of healing because they apply constant pressure to the jewelry. The waistband often sits directly on the piercing site, creating friction that can "push" the barbell out of its proper alignment. Opt for low-rise bottoms that sit at least two inches below the navel. This ensures the jewelry remains undisturbed while you move, preventing the "lever effect" that causes irritation and potential scarring.
When can I go swimming in a pool or the ocean after a navel piercing?
You should wait at least six months before swimming in pools, lakes, or the ocean without a waterproof barrier. Submerging a fresh piercing in standing water introduces a high risk of infection from bacteria and harsh chemicals like chlorine. If swimming is absolutely unavoidable, you must use a waterproof, transparent film dressing to seal the area completely. Remove the dressing and clean the site with sterile saline immediately after exiting the water.
What should I do if my piercing feels sore after a workout?
If your piercing feels sore after a session, it is a sign that you need to reduce your exercise intensity or check your clothing for friction. Light soreness is common, but sharp or throbbing pain indicates trauma to the healing tissue. Apply a sterile saline spray and give the area absolute rest for at least 48 hours. If the soreness persists or is accompanied by radiating heat, consult your professional piercer to evaluate the jewelry's placement.
Can I use a waterproof bandage to cover my piercing while exercising?
Yes, you can use a waterproof or vented bandage, but only for the duration of the workout. Leaving a cover on for too long traps heat and moisture, which creates a breeding ground for bacteria like Staphylococcus. Remove the bandage as soon as you finish your session to allow the skin to breathe. This temporary shield is specifically useful for protecting against accidental snags during contact sports or high-movement routines.
How often should I clean my piercing if I work out every day?
You should clean your piercing after every single workout in addition to your standard morning and evening routine. Exercising with a new navel piercing introduces extra moisture and salt that must be neutralized quickly to prevent irritation. Use a pressurized saline spray to flush the area and dry it thoroughly with a hair dryer on the cool setting. Consistency in your hygiene protocol is the most effective way to prevent exercise-induced setbacks.
Is it normal for a new piercing to bleed slightly after heavy lifting?
Minor spotting is normal during the first few days, but bleeding after heavy lifting in later weeks is a sign of excessive physical strain. Sudden increases in abdominal pressure can cause micro-tears in the delicate healing tissue of the fistula. If you notice blood after a lifting session, it's a clear signal to scale back your weights or adjust your form. Prioritize your body's healing capacity over your personal records during the initial recovery phase.


