

It happens in a heartbeat. Your towel catches a fresh helix, or a sweater thread yanks a new lobe, leaving you with a sharp, throbbing pain. That sudden flash of heat and the sight of blood can feel like a total setback for your self-expression. You are likely wondering what to do if you snag your new piercing and whether you have just reset your healing clock to zero.
We understand the panic that comes with physical trauma to a delicate new adornment. It is a moment where you need a protective, stabilizing force to guide you back to safety. While a snag is a significant event, it does not have to mean the end of your aesthetic journey. Your body is resilient, and with the right intervention, you can preserve the integrity of the tissue.
In this recovery guide, you will learn the essential triage steps to stop bleeding, reduce swelling, and soothe immediate inflammation. We will explore how to use professional-grade saline to cleanse the wound and why proactive care with botanical oils can prevent permanent irritation bumps. From immediate relief to long-term stabilization, here is your expert roadmap to saving your snagged piercing.
Key Takeaways
- Master the immediate triage steps to stabilize a snagged piercing, ensuring you avoid further trauma and keep the area free of bacteria.
- Learn exactly what to do if you snag your new piercing by reverting to strict, Day 1 aftercare protocols to protect the fragile fistula.
- Understand the biological healing clock reset and how to properly manage the return of the inflammatory phase with professional precision.
- Identify the crucial differences between simple trauma and clinical infection while using specialized oils to prevent permanent irritation bumps.
- Discover why downsizing your jewelry and selecting stable shapes are the most effective ways to fortify your piercing against future snags.
Immediate Triage: The First 5 Minutes After a Snag
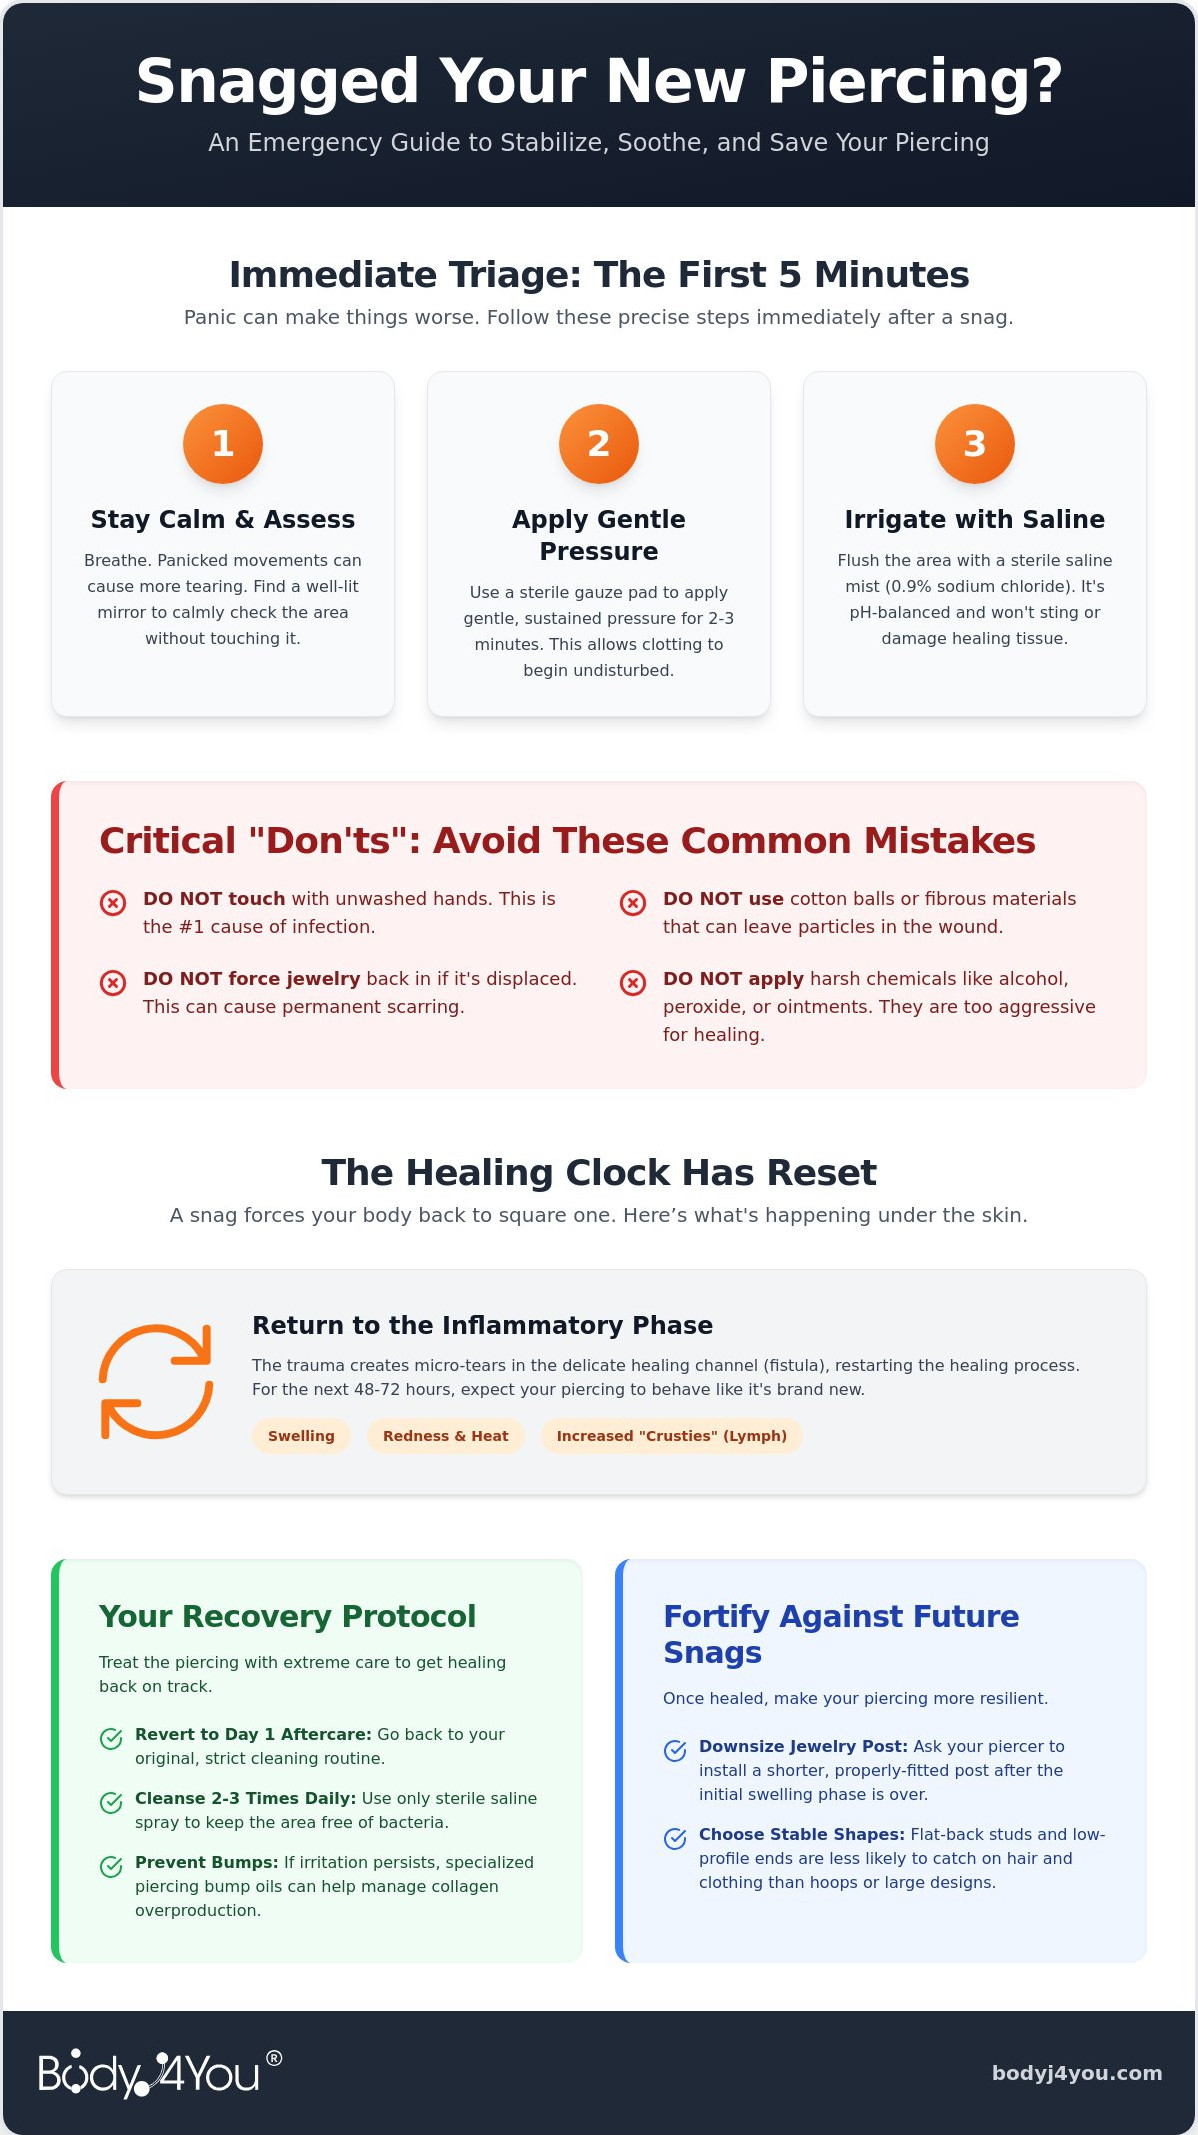
The moment a piercing catches on a loose thread or a towel, your body reacts with a surge of adrenaline. This chemical rush often amplifies the sensation of pain, making the injury feel more severe than it actually is. Your first priority is to breathe. Staying calm allows you to make rational decisions about what to do if you snag your new piercing without causing secondary trauma through panicked movements. High-stress reactions can lead to shaky hands or impulsive tugging, both of which increase the risk of tearing the delicate fistula.
Keep your hands away from the site. Freshly torn skin is a direct gateway for bacteria, and your fingertips are the primary carriers of pathogens. Unless you have just performed a surgical-grade hand wash, touching the area is strictly forbidden. Once you have regained your composure, find a well-lit mirror to assess the damage. Check if the jewelry is still in place or if the post has been pulled through the tissue. If the jewelry is displaced or hanging at an unnatural angle, resist the urge to force it back into the channel yourself. Forcing jewelry can cause internal scarring and permanent misalignment.
Step 1: Control Any Bleeding
Blood is a natural part of the body's inflammatory response to trauma. To manage it, apply gentle, sustained pressure using a sterile gauze pad. Avoid using cotton balls or fibrous tissues; these materials shed tiny particles that can become trapped in the wound, leading to irritation or infection. Hold the pressure for at least two to three minutes without lifting the pad to check the progress. This patience allows the clotting process to begin undisturbed. If the bleeding remains heavy or does not stop after ten minutes of continuous pressure, contact a professional piercer or healthcare provider immediately.
Step 2: Cleanse Without Irritation
Once the area is stable, you must flush the site to remove debris or dried blood. This is a critical moment in the piercing healing process, as the snag has created micro-tears that are vulnerable to irritation. Avoid the temptation to use harsh chemicals like rubbing alcohol, hydrogen peroxide, or standard "ear care" solutions containing benzalkonium chloride. These substances are too aggressive for cellular regeneration and can cause chemical burns on compromised tissue.
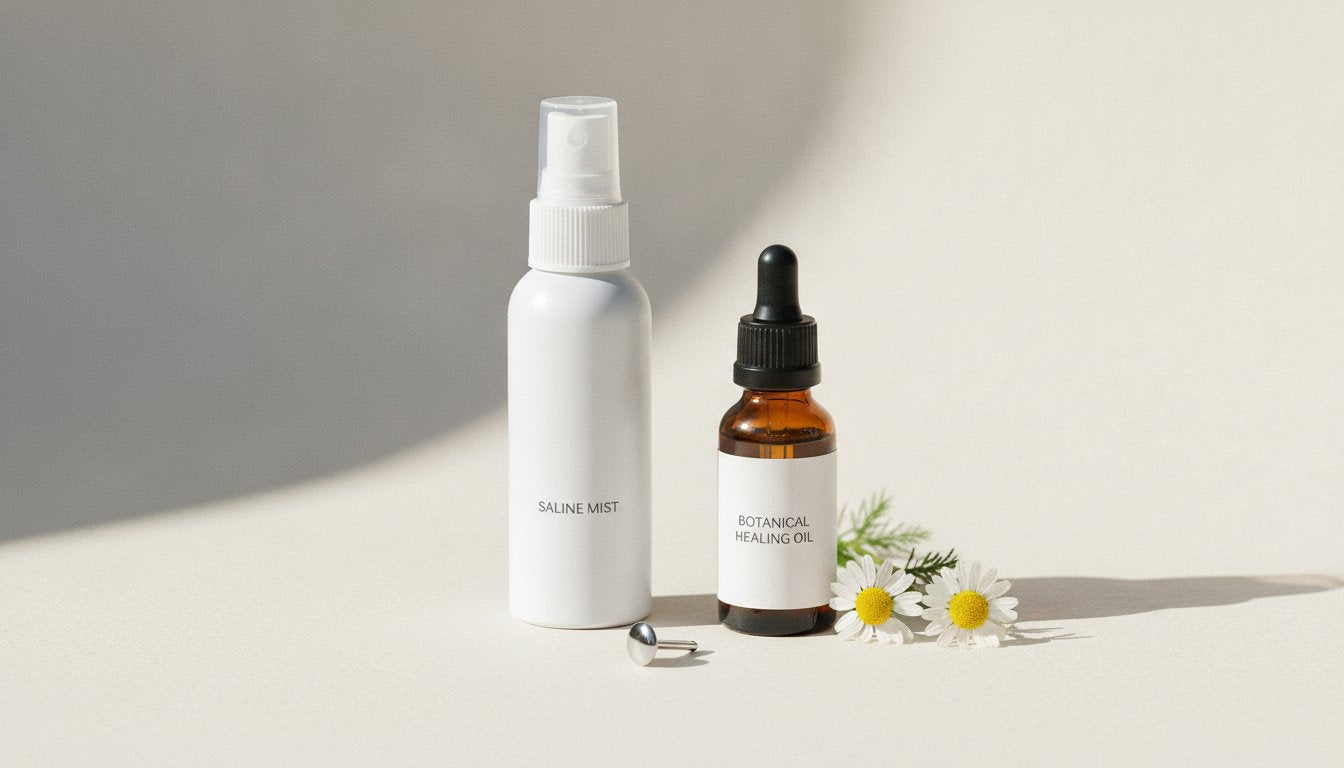
Instead, use a sterile saline mist to gently irrigate the wound. A professional-grade Saline Piercing Aftercare Spray acts as a clinical-grade reset tool for the skin. Sterile saline is the only safe fluid for an open piercing wound because its 0.9% sodium chloride concentration matches the body's natural chemistry, providing a pH-balanced environment that supports healing without stinging or drying. Understanding what to do if you snag your new piercing starts with this gentle, non-invasive approach to hygiene.
Biological Impact: What Happens Beneath the Skin
A snag is more than a momentary lapse in coordination. It is a significant biological event that disrupts the delicate architecture of your healing tissue. When you search for what to do if you snag your new piercing, you must first understand that your body has likely initiated a "healing clock" reset. Piercings heal from the outside in, forming a tunnel of skin called a fistula. A sudden yank creates micro-tears and fissures within this fragile channel, stripping away the protective layer of new cells. This trauma forces the wound out of the maturation phase and directly back into Day 1 of the inflammatory phase.
These microscopic openings act as invitation points for opportunistic bacteria. Even if the skin does not appear visibly shredded, the internal disruption is absolute. This trauma often triggers an overproduction of collagen as the body rushes to repair the site, which is the primary cause of localized scar tissue. Without proper stabilization, this excess collagen can manifest as a persistent, raised bump. If you notice early signs of texture changes, applying a specialized Piercing Bump Treatment Oil can help manage the tissue response before it hardens into a permanent fixture.
The Inflammatory Response
Expect your piercing to behave like a brand-new wound for the next 48 to 72 hours. You will likely experience localized swelling, heat, and a deep, rhythmic redness. During this time, your body increases the production of lymph fluid, often called "crusties," to seal the new fissures and protect the underlying raw tissue. While this is a normal part of the Complications of Body Piercing, you must remain vigilant. Normal trauma swelling is usually contained to the immediate site, whereas an infection often involves spreading redness, foul odors, or green discharge.
Migration and Rejection Signs
A severe snag can physically shift the jewelry within your body. This displacement is particularly common with a septum piercing, where a heavy tug can move the post out of the "sweet spot" and into the thicker cartilage. You must monitor the jewelry's angle daily. If the skin begins to look "see-through" or the jewelry appears significantly closer to the surface than before, your body may be rejecting the piercing due to the trauma. Consistent observation is the only way to determine if the site is merely irritated or if the jewelry is actively migrating toward the exit. Understanding what to do if you snag your new piercing requires this disciplined, daily assessment of your body's structural integrity.
The Recovery Protocol: Resetting Your Aftercare Routine
Once you have managed the initial shock of a snag, your focus must shift toward long-term stabilization. When deciding what to do if you snag your new piercing, the most effective strategy is a total return to "Fresh Piercing" protocols. You should treat the site as if it were Day 1 of your journey. For at least 14 days, adhere strictly to the LITHA method: Leave It The Hell Alone. This isn't just a trend; it's a physiological necessity. Touching, rotating, or "checking" the jewelry only re-opens the micro-tears and invites further trauma.
You must also reconsider your cleaning technique. Forget the outdated practice of stagnant salt soaks in a cup. Submerging your piercing in a non-sterile environment increases the risk of cross-contamination and moisture-led bacteria growth. Instead, utilize a high-pressure flush. This mechanical action dislodges debris without the need for physical contact. Additionally, manage your sleep environment with care. If you have snagged an ear piercing, use a travel pillow to keep the area suspended. This prevents pressure, heat, and friction from disrupting the healing fistula during the night.
The Role of Sterile Saline
Consistency is your greatest ally during this recovery phase. We recommend using a sterile saline spray for piercings twice daily. The pressurized mist provides a gentle but effective mechanical action, flushing away dried blood and lymph fluid without the friction of a cloth. However, you must avoid the "over-cleaning" trap. Even after a significant snag, cleaning more than three times a day can strip away the beneficial oils your skin needs to regenerate, leading to dryness and cracked tissue.
Using Specialized Cleaning Tools
Precision matters when the tissue is compromised. To maintain hygiene without disturbing the jewelry's position, you can use piercing cleaning swabs. These tools allow you to reach behind the post or under a captive bead with surgical accuracy. It's vital to avoid traditional cotton swabs or Q-tips; their loose fibers can easily become snagged in the micro-tears caused by the initial pull, leading to persistent irritation. After cleaning, ensure the area is completely dry. Use a hair dryer on a "cool" setting to remove excess moisture, as a damp environment is the primary breeding ground for harmful microbes. Understanding what to do if you snag your new piercing means combining these technical tools with a disciplined, hands-off approach.
Managing Complications: Bumps, Tears, and Rejection
Complications following a physical trauma require a discerning eye and a disciplined response. While your recovery protocol is designed to mitigate damage, you must stay vigilant for the "trauma bump" or signs of structural failure. Knowing what to do if you snag your new piercing involves distinguishing between a normal inflammatory response and a developing infection. Irritation typically manifests as localized redness, manageable swelling, and heat. Conversely, a true infection presents with systemic symptoms: fever, a foul odor, or thick green discharge. If you experience these clinical markers, consult a medical professional immediately to ensure your long-term well-being.
Treating the Trauma Bump
A flesh-colored or red dome appearing near the entry point is likely an irritation bump. This is the body's way of responding to the mechanical stress and micro-tearing caused by the snag. It is vital that you never attempt to "pop" this area; it is a collection of collagen and fluid, not a pimple. Learning how to get rid of piercing bump formations requires patience and precision. By applying a specialized piercing bump treatment oil, you can soothe the inflammation and soften the scar tissue, encouraging the body to reabsorb the excess collagen safely. Incorporate a targeted treatment oil into your routine to resolve trauma-induced bumps.
Sometimes the impact of a snag is structural rather than just surface-level. A heavy pull can shift the alignment of the fistula, causing the jewelry to sit at a permanent tilt. This "angle problem" can lead to chronic irritation because the post is no longer perpendicular to the tissue. Additionally, watch for embedding. If the swelling is so severe that the jewelry ends appear to be sinking into the skin, you must see a professional piercer to have a longer post installed. Identifying what to do if you snag your new piercing also means recognizing when the jewelry is no longer safe for the site and requires professional intervention to prevent permanent scarring.
Signs of Jewelry Rejection
Rejection is the body's final attempt to expel a foreign object it perceives as a threat. Physical trauma is a common trigger for this process, as the body may view the snagged site as too damaged to maintain. Watch for a red "track" forming between the entry and exit holes, or skin that appears thin, flaky, and tight over the post. These symptoms are particularly prevalent in industrial piercings, where the tension of a long barbell can exacerbate the trauma of a snag. If the jewelry is visibly closer to the surface than before, the piercing may no longer be viable, and the jewelry should be removed by a professional to minimize tissue damage.
Fortifying Your Piercing: Prevention and Jewelry Stabilization
Recovery is only half the battle; the final phase of your journey involves securing the site against future trauma. A snag is often a lesson in physics. Long initial jewelry, while necessary to accommodate swelling, eventually becomes a dangerous lever. The most effective way to prevent a repeat incident is to prioritize downsizing. Once the initial inflammatory phase subsides, usually within four to six weeks, you must visit a professional to have your post shortened. A flush-fitting piece of jewelry is significantly less likely to catch on a stray hair or a towel loop. Understanding what to do if you snag your new piercing means being proactive about the hardware you wear.
Jewelry shape also plays a decisive role in stability. If you are currently wearing a captive bead ring or a hoop, consider switching to a stud during the recovery period. Rings move freely, which can irritate the micro-tears caused by a snag and prolong the healing time. We strongly recommend utilizing internal threaded labret studs for this transition. Unlike external threads, which can act like a saw against raw tissue if the jewelry is pulled, internal threading ensures that only a smooth, polished post passes through your fistula. This small technical detail can be the difference between a minor setback and a permanent scar.
Choosing Biocompatible Materials
The material of your jewelry is the foundation of your piercing's health. For a traumatized site, surgical steel or titanium is essential due to their biocompatibility and corrosion resistance. While you might be exploring the versatility of acrylic ear stretching kits for healed piercings, these materials should be strictly avoided for fresh snags as they are porous and cannot be sterilized. A high-polish finish on your metal jewelry is equally critical because it creates a mirror-like surface that prevents bacteria and biofilm from adhering to the post. This clinical-grade smoothness supports the body's natural ability to seal the wound without interference from microscopic pathogens.
The Professional Check-In
If your piercing remains stubborn, schedule a "troubleshooting" appointment with your piercer. They have the specialized tools and steady hands required to safely swap jewelry in a swollen, painful site without causing further damage. Do not give up on your aesthetic vision too quickly. We recommend a "Wait and See" period of at least four weeks before deciding to retire a piercing. With disciplined aftercare and stabilized jewelry, even the most significant snags can heal beautifully. Knowing what to do if you snag your new piercing involves a blend of immediate action, technical upgrades, and the patience to let your body complete its remarkable work of self-repair.
Protect Your Aesthetic Journey
A snag is a temporary disruption, not a permanent end to your self-expression. By mastering what to do if you snag your new piercing, you shift from a state of panic to a disciplined recovery protocol. You now have the expertise to stabilize the site with sterile saline, manage the biological reset of the healing clock, and identify the structural signs of jewelry rejection before they cause lasting damage. Recovery requires patience, precision, and the right tools to support your body's natural resilience.
Your body deserves the highest standard of care during this vulnerable phase. BodyJ4You has been trusted by professionals for over 20 years to provide the stabilizing force required for delicate tissue. Our aftercare line is locally manufactured for strict quality control and specifically formulated for sensitive, traumatized piercings. We prioritize your long-term well-being over fleeting trends, ensuring your journey toward self-expression remains safe and aspirational.
Shop BodyJ4You Professional Aftercare Solutions to secure your recovery with the clinical precision your piercing requires. You have the knowledge and the specialized tools to save your adornment. Stay disciplined, stay patient, and let your healing journey continue with confidence.
Frequently Asked Questions
Will a snagged piercing ever heal or is it ruined forever?
A snagged piercing is rarely ruined forever. Your body is biologically designed for repair, and most piercings will recover with disciplined aftercare. Think of it as a temporary setback rather than a permanent failure. By returning to fresh piercing protocols for at least two weeks, you allow the micro-tears to close and the fistula to stabilize once again.
Can I change my jewelry after I snag it to make it feel better?
You should never attempt to change your jewelry yourself immediately after a snag. Manipulating the post while the tissue is freshly torn will only exacerbate the trauma and introduce bacteria. If the current jewelry is genuinely too short for the new swelling, visit a professional piercer. They can perform a sterile swap to a longer bar without causing further damage.
How do I know if my snagged piercing is infected or just irritated?
Differentiating between these states requires careful observation of specific symptoms. Irritation usually presents as localized redness, heat, and swelling that subsides within 72 hours. An infection involves systemic indicators such as fever, a foul odor, or thick green discharge. If you are unsure what to do if you snag your new piercing and notice spreading redness, seek professional medical advice.
What should I do if my piercing starts bleeding after being pulled?
Apply immediate, gentle pressure with a sterile gauze pad. Hold the pressure for at least three minutes without lifting the pad, as this allows a stable clot to form undisturbed. Once the bleeding ceases, use a sterile saline mist to gently flush away dried blood. Avoid using fibrous cotton balls that can leave irritating threads behind in the raw tissue.
How long does it take for a snagged piercing to stop hurting?
Sharp, acute pain usually subsides within a few minutes once the adrenaline fades. However, deep throbbing or localized soreness typically persists for three to seven days as the inflammatory phase peaks. If the pain intensifies after the first 48 hours or is accompanied by a pulse-like sensation, it is time to consult your piercer for a structural assessment of the site.
Should I take the jewelry out if I snagged it really hard?
Removing the jewelry yourself is a common mistake that can lead to complications. The piercing channel can close within seconds when the skin is irritated, potentially trapping bacteria inside and leading to an abscess. Unless a medical professional or piercer advises otherwise, keep the jewelry in place to maintain a drainage path and preserve the integrity of the fistula.
Can a snagged piercing cause a permanent keloid?
While a snag often triggers a temporary irritation bump, permanent keloids are primarily determined by genetic factors. Most raised domes seen after a pull are hypertrophic scars or fluid-filled bumps caused by mechanical stress. These typically resolve with consistent saline irrigation and specialized treatment oils. True keloids are rare and continue to grow far beyond the original injury site.
Is it normal for a snagged piercing to have a bump the next day?
It is perfectly normal for a bump to appear within 24 hours of a significant pull. This is the body's rapid inflammatory response, where fluid and white blood cells rush to the site of the micro-tears to begin repairs. Understanding what to do if you snag your new piercing involves recognizing this bump as a sign of active healing rather than a permanent scar.


