

You’re standing in front of the mirror, fingertips slick and heart racing, as you struggle with how to remove a flat back labret stud that won’t budge. It’s a moment of physical vulnerability that every piercing enthusiast eventually faces. We understand the sudden spike of anxiety that comes with feeling like your hardware is stuck, especially when you’re worried about causing trauma to a delicate site. You deserve a process that feels like a ritual of self-care rather than a struggle against your own body.
Mastering the removal of your jewelry is about three things: identification, preparation, and precision. It’s completely natural to feel confused by different mechanisms or fearful of causing a setback in your healing journey. This guide acts as your supportive specialist, ensuring you master the technique of identifying and removing your jewelry without irritation or injury. We will demystify the mechanics of threaded versus threadless posts, provide a clear path for a painless transition, and share the professional aftercare steps required to maintain your skin’s integrity. You’ll leave this guide feeling empowered, informed, and ready to refresh your look with total confidence.
Key Takeaways
- Identify whether your jewelry is internally threaded or threadless to ensure you apply the correct motion for a seamless, pain-free removal.
- Discover the professional technique on how to remove a flat back labret stud safely, minimizing the risk of irritation or injury to the delicate tissue.
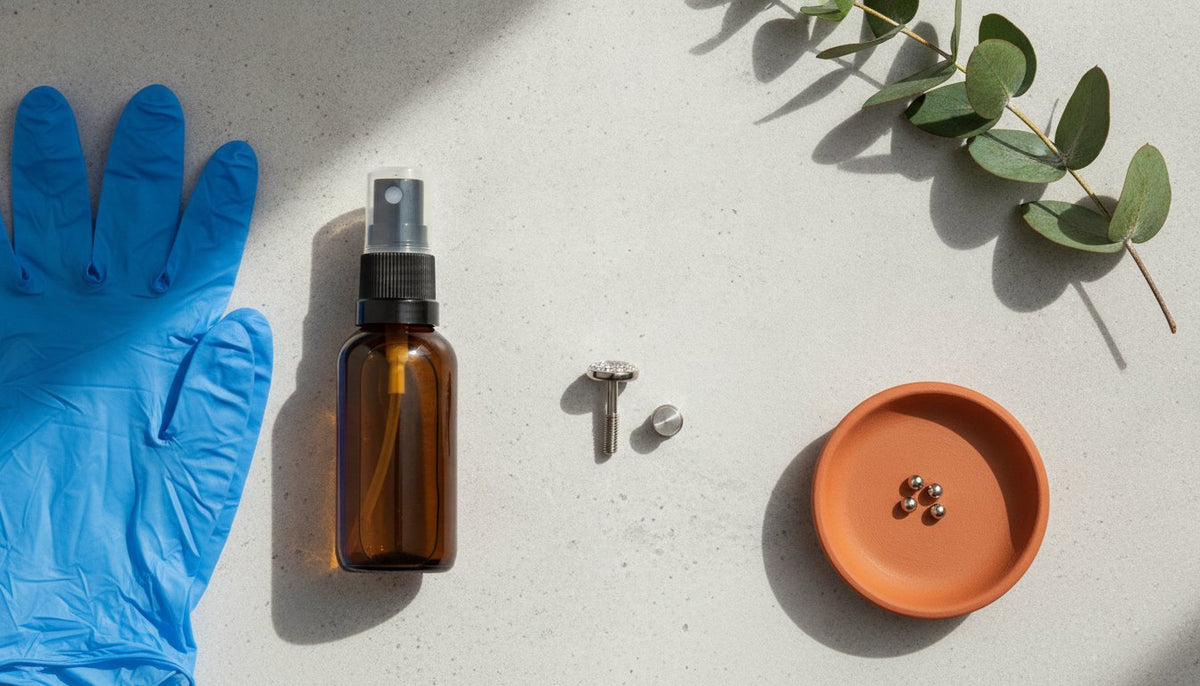
- Utilize essential preparation tools, including nitrile gloves for a secure grip and saline spray to gently soften any biological buildup.
- Master the saline soak method to troubleshoot jewelry that feels stuck, allowing you to dissolve "crusties" without forcing the mechanism.
- Establish a post-change ritual that includes thorough cleaning and jewelry inspection to maintain the long-term health and vibrancy of your piercing.
Identify Your Labret: Threaded vs. Threadless Mechanisms
A flat back labret stud is a masterpiece of precision engineering. It is not a single unit, but a sophisticated two-piece system designed for comfort, stability, and aesthetic refinement. Understanding the architecture of your hardware is the first essential step in learning how to remove a flat back labret stud without causing unnecessary stress to your skin. This system consists of a smooth, flat-bottomed post and a decorative top that secures the piece in place.
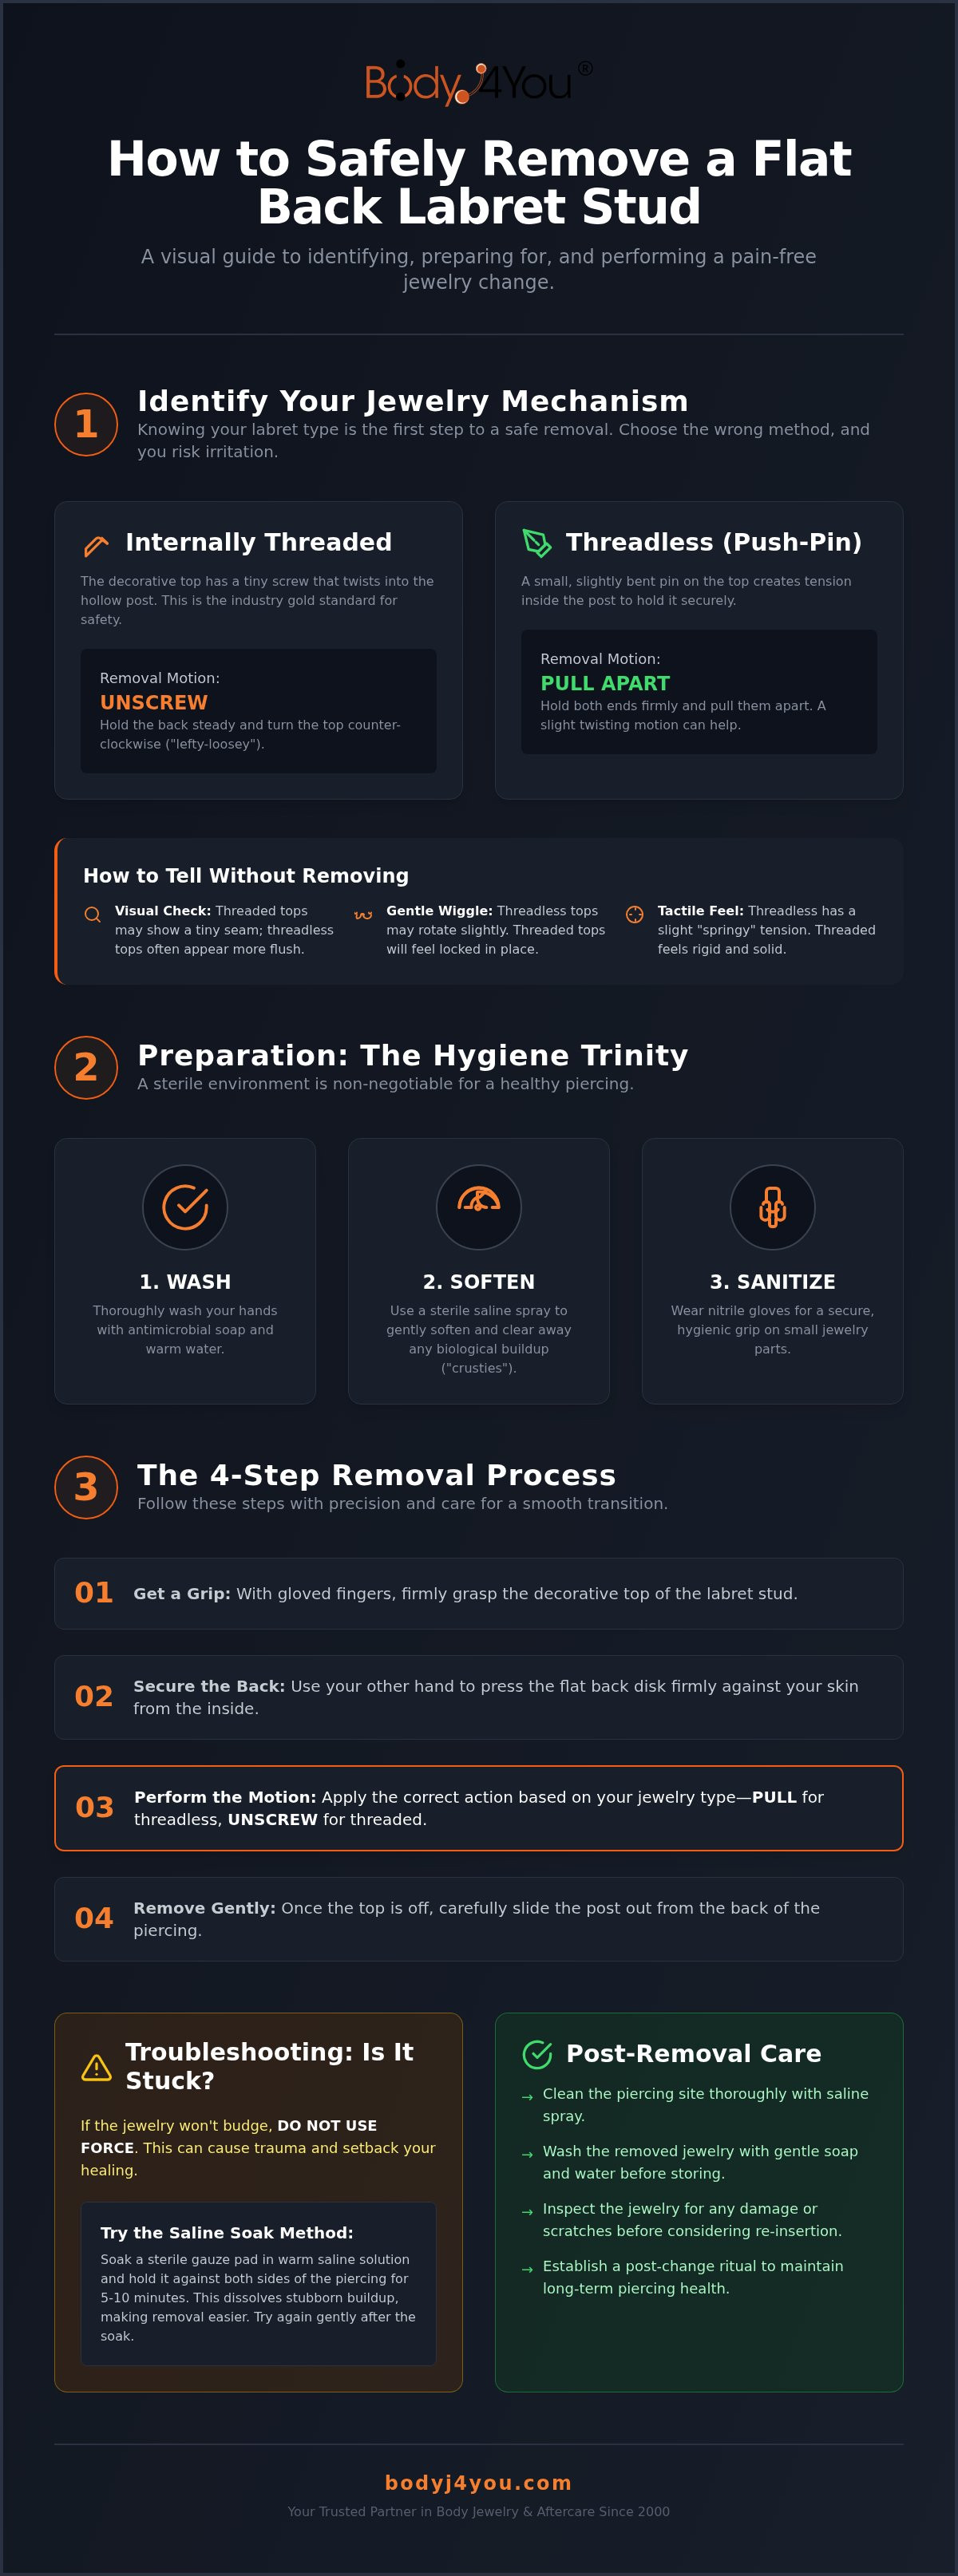
There are two primary locking mechanisms used in modern body jewelry: internally threaded and threadless. In an internally threaded system, the decorative top features a tiny, delicate screw that fits into the hollow, threaded post. Conversely, threadless jewelry, often called push-pin jewelry, relies on a slightly bent pin on the top piece that creates tension when inserted into the post. As a "Wise Guardian" of your piercing health, we emphasize that internally threaded jewelry is the gold standard for safety; it ensures that no sharp threads ever pass through your Labret piercing channel, protecting the delicate internal tissue from irritation.
How to Tell the Difference Without Pulling
Mistaking your jewelry mechanism can lead to painful tugging or accidental damage. To identify your type without force, utilize these three methods:
- Visual Inspection: Look closely at the point where the decorative top meets the post. Threaded tops often show a microscopic, clean seam where the screw begins, whereas threadless tops may appear more flush.
- The Gentle Wiggle: Hold the flat back steady with one finger. Give the top a very slight, cautious twist. If it rotates slightly without coming loose, it is likely threadless. If it feels firmly locked or tightens with a clockwise turn, it is threaded.
- Tactile Feedback: Threadless pins often have a slight "springy" feel when tension is applied, while threaded pieces feel rigid until the unscrewing motion begins.
BodyJ4You has spent over two decades refining these designs. Our historical preference for internal threading stems from a commitment to the healing process, ensuring your jewelry change is as smooth as the metal itself.
Why Material Matters for Removal
The material of your jewelry significantly impacts the ease of removal. Surgical steel and titanium are the industry benchmarks for biocompatibility, but their surface finish is the silent hero of the removal process. High-quality pieces feature a "mirror-polish" finish. This ultra-smooth surface serves three purposes: it minimizes friction, resists biological buildup, and prevents skin adhesion.
When you use lower-quality materials, the metal can feel "sticky" because the surface is microscopically porous, allowing "crusties" to anchor the jewelry to your skin. BodyJ4You utilizes premium materials and meticulous polishing standards to ensure your jewelry remains hygienic. This commitment to quality means that when it's time to learn how to remove a flat back labret stud, the hardware works with you, not against you.
Preparation: Essential Tools and Hygiene for Safe Removal
Safety is the foundation of every successful jewelry change. Before you focus on how to remove a flat back labret stud, you must curate a sterile environment to protect your piercing from infection. This is not just a routine task; it's a commitment to your body's long-term health. Start by laying a clean, light-colored towel over your workspace or sink. This simple step acts as a safety net, ensuring that if a tiny decorative top slips from your fingers, it won't be lost down the drain or damaged on a hard surface. A well-lit mirror is equally vital, providing the clinical clarity you need for precision movement.
Cleanliness is non-negotiable. Following the Association of Professional Piercers aftercare guidelines minimizes the risk of introducing harmful bacteria into the piercing channel during a jewelry change. Your hands, the jewelry, and the surrounding skin must be meticulously prepared before any contact occurs. This preparation transforms a potentially stressful moment into a controlled, professional procedure.
The Rule of Three for Hygiene
We recommend a tripartite approach to sanitation: Wash. Soften. Sanitize. First, wash your hands thoroughly with antimicrobial soap. Next, a thorough misting with Saline Piercing Aftercare Spray is the most effective way to dissolve biological buildup, commonly known as "crusties," that can lock a stud in place. Finally, use a piercing cleaning swab to sanitize the area immediately surrounding the post. This ensures a smooth exit for the jewelry and prevents debris from being pulled through the delicate tract.
Professional Tools You Might Have at Home
Grip is the most common hurdle when learning how to remove a flat back labret stud. Fingertips are naturally oily, making tiny metal surfaces nearly impossible to grasp. Nitrile or rubber gloves are your secret weapon in this process. They provide the necessary friction to secure the flat back while simultaneously twisting or pulling the decorative top. If you find your jewelry is exceptionally tight, do not use brute force. A pair of small hemostats or specialized piercing pliers can provide the leverage needed for stubborn threaded studs without causing trauma to the site.
If the skin feels tight or the jewelry seems to adhere to the tissue, lubrication is key. Applying a drop of Jojoba oil can gently lubricate the skin, allowing the post to slide out more comfortably. This natural oil supports skin elasticity and prevents irritation during the transition. For those looking to upgrade their collection, choosing high-quality Internal Threaded Labret Studs ensures that future removals remain just as effortless and safe.
Step-by-Step Guide: How to Remove Your Labret Stud
Executing the removal process requires a steady hand and a calm mind. Now that you've prepared your workspace and sanitized the area, you're ready to proceed with confidence. The primary goal is to minimize movement within the piercing tract. Stability prevents irritation. Control ensures safety. Precision leads to success. Follow these four definitive steps to master how to remove a flat back labret stud without causing trauma to your skin.
- Step 1: Secure the Post. Use your thumb or forefinger, encased in a clean nitrile glove, to firmly press the flat disk against the back of your piercing. This creates a stable base and prevents the jewelry from spinning or sliding.
- Step 2: Disengage the Top. Apply the specific tension required for your jewelry type, whether unscrewing or pulling, while keeping the base completely stationary.
- Step 3: Withdraw the Jewelry. Once the decorative end is detached, gently slide the post out of the channel. If you feel any resistance, stop immediately and apply more saline spray to lubricate the exit.
- Step 4: Sanitize the Site. Immediately cleanse the empty piercing with a fresh mist of saline to remove any internal debris. This final step is crucial for maintaining a healthy environment for your next piece of jewelry.
Removing Threaded Labret Studs
Threaded jewelry operates on the universal "Lefty-Loosey" principle. To begin, grasp the decorative top firmly between your gloved fingertips. Rotate the top in a counter-clockwise direction while maintaining a rigid grip on the flat back post. Internal Threaded Labret Studs are engineered for this exact moment; the precision threading ensures a smooth, predictable release. If the top is too small to grasp effectively, a pair of sterilized tweezers can provide the necessary leverage. Don't let the post turn with the top. If the post rotates, the threads won't disengage, which often leads to frustration and unnecessary swelling. Slow, deliberate turns are far more effective than rapid, jerky movements.
Removing Threadless (Push-Pin) Studs
Threadless systems rely on a tension-based "Pull and Twist" method. These pins are intentionally bent to create a secure friction lock inside the post. To remove them, hold the flat back securely against your skin. Grasp the decorative top and give it a slight twist while pulling it straight away from the post. You'll feel a distinct "pop" as the tension releases. Avoid sudden jerking motions. These can cause the post to snap back against the tissue, leading to irritation. Steady, linear pressure is the secret to a smooth release. If the pin feels exceptionally tight, it's a sign of a high-quality, secure fit, not a malfunction. Take your time, breathe, and let the tension work for you.
Troubleshooting: What to Do if Your Labret is Stuck
Even the most experienced enthusiasts encounter resistance when changing their hardware. You have prepared your space, donned your gloves, and applied the correct technique, yet the jewelry remains immovable. Do not panic. Brute force is the enemy of a healthy piercing; it leads to swelling, tearing, and prolonged irritation. Understanding how to remove a flat back labret stud when it is stubborn requires a diagnostic approach. You must determine if the resistance is biological, mechanical, or a matter of simple friction. Patience is your most valuable tool in this moment.
Dealing with Biological Buildup
Often, the jewelry is not mechanically stuck; it is simply "glued" in place by your own biology. Your body naturally produces lymph and sheds dead skin cells as part of its ongoing maintenance. Over time, these elements can crystallize around the post and the decorative top, creating a cement-like bond that resists movement. Resist the urge to pick at this buildup with your fingernails. This introduces harmful bacteria and causes micro-tears in the delicate tissue.
The solution is a warm saline compress. Saturate a clean gauze pad with saline solution and hold it against the site for five to ten minutes. This gentle heat and salt concentration work together to dissolve the biological bond safely. Once the "crusties" are softened, use a cleaning swab to wipe them away before attempting removal again. This ensures the jewelry slides out without dragging debris through the piercing channel.
Mechanical Failures: Cross-Threading and Tight Pins
If the jewelry is clean but still won't move, you may be facing a mechanical hurdle. For threaded studs, cross-threading occurs when the screw enters the post at an incorrect angle, jamming the metal threads together. You can identify this if the top feels "locked" and refuses to turn in either direction. For threadless pieces, a pin that has been bent too aggressively will create excessive tension that feels impossible to break with fingertips alone.
While you might be tempted to reach for heavy household pliers, you must stop. These tools can crush the hollow post, scratch the finish, or shatter decorative gems. Use only specialized piercing tools or high-friction rubber gloves to gain the necessary grip. If the metal does not give way with moderate, controlled pressure, the mechanism may be compromised. A "Wise Guardian" knows that a ten-minute visit to a professional piercer is far better than a month of healing a self-inflicted injury. They have the clinical lighting, ergonomic angles, and sterile instruments to resolve the issue in seconds.
Maintain your skin's integrity and ensure every jewelry change is a smooth experience by using our Saline Piercing Aftercare Spray to dissolve stubborn buildup before you begin.
Post-Removal Care and Choosing Your Next Labret
Success is yours. You've mastered how to remove a flat back labret stud with precision and care. Now, the focus shifts from removal to restoration and refinement. The moments immediately following the exit of your jewelry are critical for maintaining the health of the piercing tract. Your body is a living, changing canvas; treat it with the respect it deserves. Cleanse the site instantly. Inspect your hardware. Plan your next aesthetic move. This transition period is the perfect time to evaluate the health of your skin and the quality of your collection.
Caring for the Piercing Site
The empty piercing channel is a vulnerable space. Without the support of a post, the tissue can begin to contract within minutes, especially in younger or more active piercings. You should never leave a healthy piercing empty for extended periods if you intend to keep it open. Watch for localized redness, minor swelling, or unusual warmth after the change. If the site feels tender or shows signs of a persistent irritation, applying Piercing Bump Treatment Oil can provide the soothing, botanical support needed to calm the skin and promote elasticity. This proactive care ensures your piercing remains a healthy foundation for future self-expression.
Selecting Your Next BodyJ4You Piece
Your next choice should be an upgrade in both safety and style. When exploring the benefits of Internal Threaded Labret Studs, you're choosing a design that prioritizes the integrity of your skin. Internal threading ensures the smooth post passes through the channel without the "sawing" effect of external threads. This design reduces trauma and simplifies the installation process. Before you purchase, ensure your measurements are precise. Matching your gauge is effortless when you refer to our Ear Gauge Size Chart, the definitive reference for a secure and comfortable fit.
Apply the Rule of Three for every new addition: Material, Fit, and Style. We prioritize surgical steel and titanium for their biocompatibility. We offer precision sizing to ensure maximum comfort. We curate vibrant designs that empower your unique aesthetic. BodyJ4You remains your supportive specialist, delivering high-end aesthetics backed by two decades of industry expertise. Safe. High-quality. Ethical. This is our promise to you as you continue your journey of personal growth and creative refinement.
Embrace Your Next Aesthetic Transition
Mastering the art of jewelry maintenance is a significant milestone in your journey of self-expression. By understanding the mechanical nuances of your hardware and prioritizing sterile preparation, you have transformed a source of anxiety into a controlled, professional ritual. You now possess the specialized knowledge of how to remove a flat back labret stud without compromising the health of your skin. You have learned to identify, prepare, and remove your jewelry with total confidence. It's a process built on hygiene, patience, and precision.
As you prepare to refresh your look, rely on the stability provided by over 20 years of industry expertise. We focus on your long-term wellness through USA-manufactured aftercare and premium material standards. Whether you prefer the security of high-grade surgical steel or the lightweight biocompatibility of titanium, your safety remains our primary mission. Explore our collection of Internal Threaded Labret Studs to find your next signature piece. Your commitment to proper care ensures that your aesthetic journey remains vibrant, healthy, and entirely your own.
Frequently Asked Questions
Why is my flat back labret stud not unscrewing?
Resistance often stems from biological buildup, cross-threading, or excessive tension. Your body naturally produces lymph that can crystallize around the metal, acting as a powerful adhesive that locks the components together. To address this, saturate the area with saline spray for several minutes to dissolve these crystals safely. If the jewelry still won't budge, the threads may be misaligned. Patience is vital; forcing the mechanism can lead to localized swelling or internal tissue trauma.
Which way do you turn a labret stud to open it?
You should follow the universal "lefty-loosey" principle by rotating the decorative top counter-clockwise. It's critical to hold the flat back post completely stationary while you turn the front piece. If the post rotates along with the top, the threads cannot disengage, leading to frustration and irritation. Using nitrile gloves provides the necessary friction to secure the base while you execute a clean, deliberate, and successful turn to release the locking mechanism.
Is it better to have a threaded or threadless labret stud?
Internal threaded jewelry is the superior choice for safety, comfort, and long-term health. Because the threading is inside the post, no sharp edges pass through your piercing channel during a change. Threadless options offer convenience for those who swap styles frequently, but they rely on tension pins that can weaken. We prioritize internal threading to ensure your self-expression remains safe, ethical, and refined. Our designs focus on the integrity of your skin above all else.
How do I remove a flat back earring if it is too tight?
Grip is the primary hurdle when learning how to remove a flat back labret stud that feels stuck. Fingertips are naturally oily, making polished metal surfaces incredibly slippery. Wear clean rubber or nitrile gloves to gain the traction needed to grasp the tiny components securely. If the tightness is due to skin adhesion, apply a drop of jojoba oil to lubricate the post. This helps the jewelry slide out without dragging against the delicate piercing tract.
Can I use pliers to remove my piercing jewelry at home?
You should only use specialized piercing tools, such as hemostats or small jewelry pliers, and only if you have a steady hand. Heavy household pliers are dangerous; they can easily crush hollow posts, scratch high-polish finishes, or damage decorative gems. If you cannot remove the stud with gloved fingers or gentle tool assistance, it's safer to visit a professional. They have the clinical lighting and ergonomic tools to resolve the issue with professional precision.
What should I do if my piercing starts bleeding during removal?
Stop the process immediately if you see blood or feel sharp pain. This indicates that the jewelry is either adhered to the tissue or the piercing isn't fully healed. Apply firm pressure with a clean gauze pad to stop the bleeding, then cleanse the area with saline spray. Don't force the jewelry out. Wait for the irritation to subside before trying again, or consult a professional to avoid permanent scarring and ensure your piercing remains healthy.
How often should I change my flat back labret stud?
You must wait until the piercing is fully healed before your first change, which typically takes six to twelve weeks. Once healed, you can change your jewelry as often as your style dictates, provided you maintain strict hygiene. However, frequent changes can irritate the tract. We recommend choosing high-quality titanium or surgical steel pieces that you can wear comfortably for long durations. This approach minimizes unnecessary physical stress while supporting your personal aesthetic journey.
Will my piercing hole close if I leave the jewelry out for an hour?
Yes, it's possible for a piercing to begin closing within minutes, especially in oral or mucosal tissue. Even well-established piercings can shrink significantly in an hour, making reinsertion difficult or painful. Oral tissue is vibrant, reactive, and fast-healing. If you must remove your stud for a short period, try to replace it as quickly as possible. If you struggle to reinsert the jewelry, don't force it; instead, use a clean taper for assistance.


