

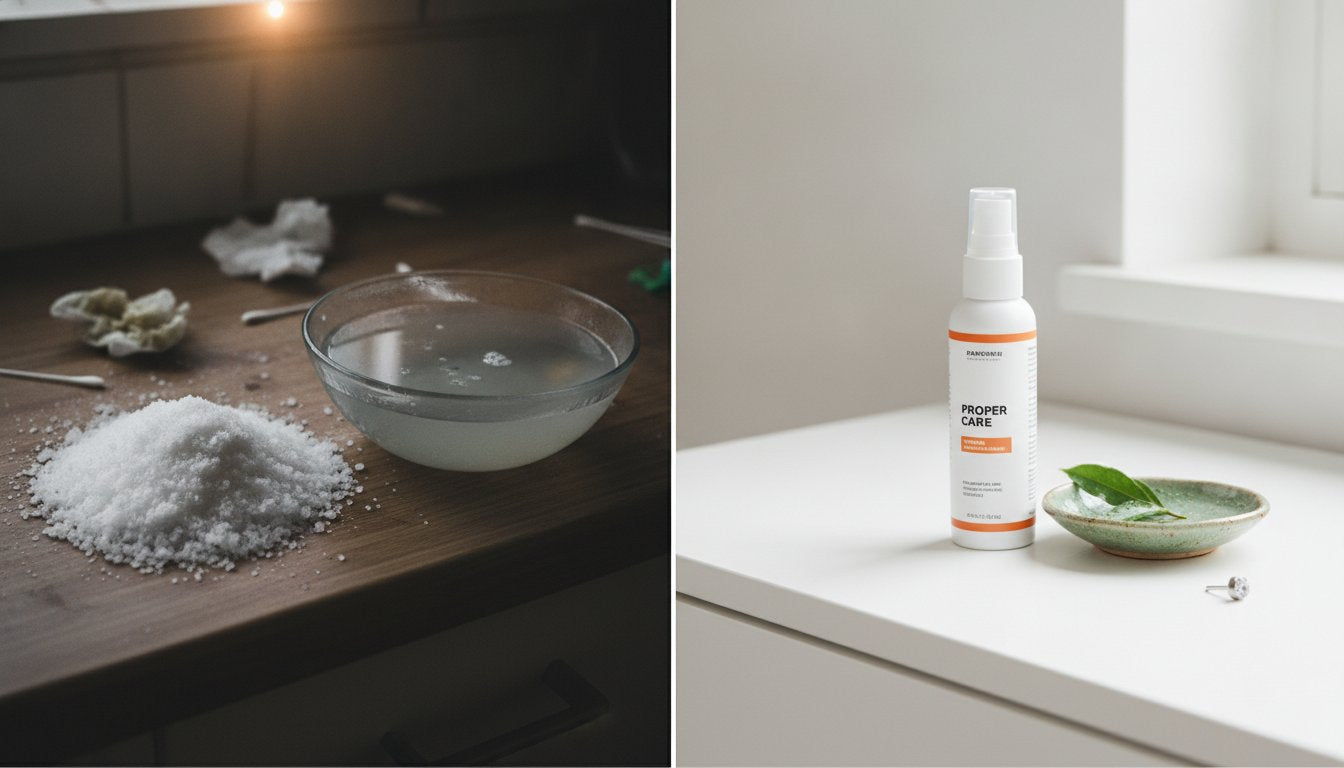
Your kitchen pantry is not a laboratory, yet thousands of people trust a box of table salt to heal a fresh, open wound. While a homemade soak feels like a budget-friendly shortcut, the reality is that imprecise chemistry often invites more harm than healing. We know the pressure to find a quick fix is real, especially when conflicting social media advice makes professional products feel optional. You want a beautiful result without the fear of infection, irritation, or permanent scarring. You deserve a healing process that is as refined and intentional as the jewelry you chose.
Understanding the DIY piercing aftercare risks is the first step toward safeguarding your new look. This article will help you discover the hidden dangers of homemade solutions and teach you how to protect your self-expression with professional, biology-backed healing methods. We will break down why DIY mixtures fail, explain the clinical necessity of sterile saline, and provide a reliable protocol that ensures your journey remains safe, stylish, and successful. It is time to move beyond guesswork and embrace a standard of care that honors your body, your health, and your art.
Key Takeaways
- Identify the hidden DIY piercing aftercare risks found in viral social media hacks that can lead to chemical burns and permanent tissue damage.
- Understand the critical biological difference between imprecise homemade salt soaks and professional-grade, sterile saline solutions.
- Learn to recognize the specific warning signs of irritation, such as chemical reactions and the early progression of piercing bumps.
- Discover how to properly use biocompatible oils like Jojoba, Rosehip, and Castor oil to support and stabilize your skin’s natural recovery.
- Establish a safe, professional healing protocol that protects your self-expression through clinical precision and nurturing care.
The Temptation of DIY Aftercare: Why Shortcuts Are Risky
Social media feeds are often flooded with "life hacks" that promise instant results for pennies. When a new piercing feels tender or develops a minor bump, the impulse to reach for a kitchen cupboard remedy is strong. However, understanding the DIY piercing aftercare risks begins with a shift in perspective. A piercing is not just a fashion statement; it's a controlled puncture wound. Proper body piercing aftercare requires medical-grade attention, not anecdotal advice from a thirty-second video clip.
Safe healing rests on three core pillars:
- Purity: Using only biocompatible, sterile ingredients.
- Consistency: Following a disciplined, expert-approved routine.
- Patience: Respecting the body's natural biological timeline.
The Psychology of the 'Quick Fix'
The human brain craves immediate solutions. When we see a piercing bump, the "quick fix" mentality takes over. We lean on household items because they're familiar and accessible. This leads to the danger of anecdotal evidence. Just because a specific paste "worked" for a friend doesn't mean it's biologically safe for your unique skin chemistry. DIY methods often provide a false sense of security. They might mask symptoms temporarily while actually delaying the deeper cellular repair your tissue needs.
Cross-Contamination in the Kitchen
Maintaining a sterile environment at home is nearly impossible. There's a fundamental difference between "clean" and "sterile" in wound management. Your kitchen counters and bathroom surfaces harbor microscopic bacteria that are harmless on intact skin but devastating inside a fresh piercing. Common household tools like measuring spoons or mixing bowls introduce contaminants into your solutions. Every time you mix a batch of homemade salt water, you risk introducing pathogens. Professional solutions eliminate this variable by providing a sealed, contaminant-free environment for every application.
The Salt Water Trap: Homemade vs. Sterile Saline
The "Salt Water Trap" is a common pitfall for many enthusiasts. It stems from the belief that a pinch of salt and a cup of warm water create a healing elixir. In reality, this lack of precision is where the most significant DIY piercing aftercare risks reside. Your body operates on a delicate biological balance. Disrupting that balance with an unmeasured solution can stall your recovery for weeks. While the intention is pure, the chemistry often isn't.
The Isotonic Balance Explained
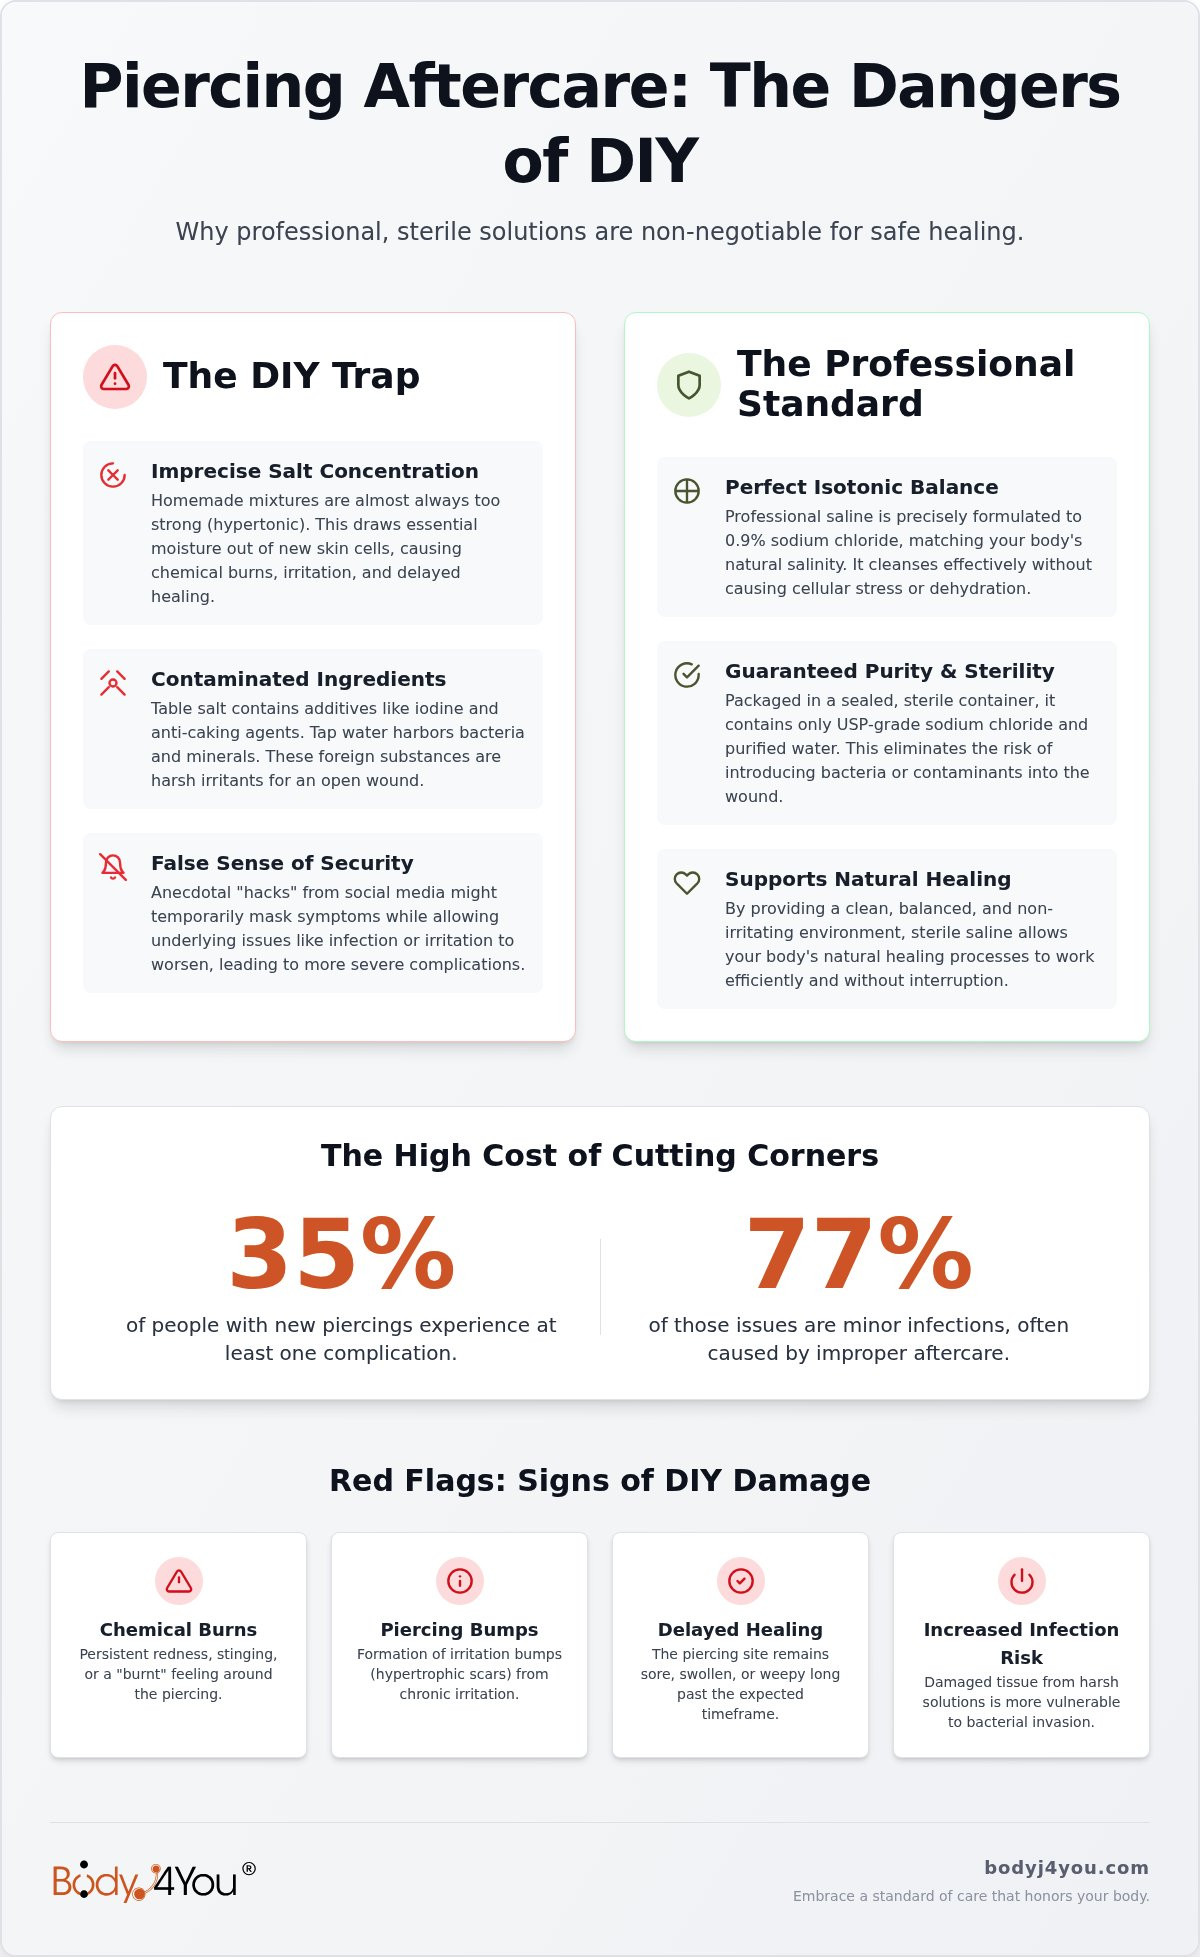
Human cells thrive in an environment of 0.9% sodium chloride. This is known as an isotonic state. When you apply a solution with this exact concentration, it cleanses the wound without causing cellular stress. However, achieving this 0.9% balance in a kitchen is nearly impossible. Without laboratory-grade scales, you're guessing. If your mixture is too strong, it becomes hypertonic. This triggers osmosis, a process where the salt pulls essential moisture out of your new skin cells. This dehydration leads to chemical burning of the tissue, persistent redness, and stunted growth of healthy new skin.
Using a sterile saline spray for piercings ensures you provide your body with the exact concentration it needs. It's about clinical precision, safety, and reliability. Expert guidance on piercing cleaning and healing emphasizes that while salt is beneficial, the wrong ratio is destructive. Purified water is also essential to prevent mineral buildup and hard water deposits from irritating the site.
Hidden Irritants in Common Salts
Not all salt is created equal. Table salt often contains iodine or anti-caking agents like sodium ferrocyanide. These additives are safe for consumption but harsh on open wounds. They cause chemical irritation that mimics the signs of an infection, complicating the DIY piercing aftercare risks you face. Even sea salt can be problematic. It often contains trace minerals or organic impurities that haven't been filtered out. These particles can get trapped in the piercing channel, leading to chronic inflammation.
A pressurized can of sterile saline offers three distinct advantages:
- It remains sterile from the first spray to the last drop.
- It uses medical-grade water free from local tap contaminants.
- It delivers a consistent mist that doesn't disturb the jewelry.
Dangerous DIY 'Hacks' to Avoid at All Costs
Many people turn to their medicine cabinets when they spot a minor irritation. They assume that if a product kills bacteria, it must be good for a piercing. This logic is a primary driver of DIY piercing aftercare risks. Aggressive chemicals don't discriminate between harmful pathogens and the delicate new cells your body is working to build. When you apply harsh topicals, you aren't just cleaning a wound; you're often destroying the very foundation of your healing.
The Truth About Tea Tree Oil
Tea tree oil is often hailed as a miracle antiseptic in online forums. While it has its place in general skincare, it is far too volatile for a fresh puncture wound. Undiluted essential oils can cause severe chemical burns on compromised skin. There is a fundamental difference between an "antiseptic" and a "tissue-safe" solution. Essential oils should only be introduced after the initial healing phase is complete, and even then, only when properly diluted in a carrier like jojoba or rosehip oil. Using them too early disrupts the fragile environment your piercing needs to stabilize, leading to chronic redness and sensitivity.
Why 'Harsh' Doesn't Mean 'Clean'
The "Aspirin Paste" myth is another dangerous trend that highlights DIY piercing aftercare risks. Aspirin contains acetylsalicylic acid. Applying a paste of crushed tablets directly to a piercing bump doesn't "shrink" it in a healthy way; it chemically cauterizes the tissue. This destruction of healthy cells creates a larger, more vulnerable wound and increases the likelihood of permanent scarring. The goal is to nurture the skin, not to attack it with acidic compounds.
Similarly, many fall into the "over-cleaning" trap. They believe that more cleaning equals faster healing. Using hydrogen peroxide or rubbing alcohol multiple times a day is a recipe for disaster. Alcohol dehydrates new skin cells instantly, causing them to crack and bleed. Hydrogen peroxide is a known cytotoxin. It prevents the body from closing the wound by killing the very fibroblasts responsible for tissue repair. If your cleaning routine feels like it's "stinging" or "burning," you aren't cleaning; you're damaging.
A "Wise Guardian" approach follows one simple rule: If you wouldn't put it in your eye, don't put it in your piercing. Instead of using abrasive cotton balls that snag on jewelry and leave micro-fibers behind, switch to piercing cleaning swabs. These precision tools offer a disciplined, sterile alternative that cleans without causing mechanical trauma. True healing requires a balance of purity, protection, and patience. By avoiding these harsh "hacks," you protect your self-expression and ensure a smooth path to a fully healed piercing.
Identifying DIY Damage: Red Flags and Warning Signs
Recognizing the boundary between healthy recovery and a failing routine is essential. While minor swelling and tenderness are expected in the first few days, DIY piercing aftercare risks often manifest as persistent, escalating discomfort. Your body is a communicative system. When a homemade solution causes harm, the skin provides immediate feedback through texture, color, and sensation. Ignoring these signals can transform a minor irritation into a permanent aesthetic complication.
A chemical reaction caused by improper salinity or harsh additives typically appears as dry, flaky skin or intense itching around the jewelry. This differs from a standard healing response, which usually involves a small amount of clear or pale yellow fluid known as lymph. If you notice the skin beginning to thin or the jewelry becoming more visible through the surface, you may be witnessing migration. Harsh DIY topicals can weaken the tissue integrity to the point where your body perceives the jewelry as a threat and begins to push it out entirely.
Symptom Checklist: Irritation vs. Infection
Distinguishing between localized irritation and a true infection requires a disciplined eye. You should monitor the site for three primary warning signs: intense heat, persistent throbbing, and localized swelling that spreads beyond the immediate piercing area. While lymph is a sign of health, pus is a signal of distress. If the discharge is thick, green, or foul-smelling, an infection is likely present. Ironically, the frantic "cleaning" associated with DIY efforts often pushes surface bacteria deeper into the fistula, exacerbating the very problem you are trying to solve.
The Long-Term Cost of Scarring
Trauma from improper care frequently leads to the development of a piercing bump. These are often hypertrophic scars, which are raised, firm areas of tissue that form in response to chronic irritation. Many enthusiasts attempt to "pop" or "dry out" these bumps with more DIY hacks, but this only triggers more inflammation. This cycle is what leads to permanent disfigurement or keloids. True recovery requires a shift toward professional stabilization and nurturing.
If you see a bump forming, stop the homemade soaks immediately. Transitioning to a specialized piercing bump treatment oil provides the biocompatible support needed to soothe the tissue and encourage safe reduction. If symptoms include fever, chills, or red streaks radiating from the site, seek medical attention immediately. Protecting your self-expression means knowing when to step back and let professional-grade tools do the work.
Nurture your skin with a proven, professional solution. Explore our Piercing Bump Treatment Oil to restore your piercing’s health today.
The Professional Standard: Empowering Your Healing Journey
Self-expression is a journey that requires both creative vision and biological respect. Elevating your routine beyond the erratic nature of DIY piercing aftercare risks means adopting a protocol based on clinical standards. At BodyJ4You, we have spent over two decades refining this balance. We believe that professional aftercare is not a luxury; it is a fundamental necessity for anyone who values the longevity of their aesthetic. By choosing US-manufactured solutions, you ensure strict quality control and ingredient integrity for your healing tissue.
The "Wise Guardian" protocol centers on three simple actions: Cleanse, Protect, and Respect. This begins with a sterile saline spray and a strict hands-off policy. High-quality jewelry materials, such as surgical steel or titanium, provide the necessary biocompatible foundation, but they cannot do the work alone. They must be paired with a cleaning routine that removes debris without introducing new pathogens. This disciplined approach stabilizes the wound environment, allowing your body to focus entirely on reconstruction rather than fighting off avoidable irritants.
The Role of Natural Oils in Mature Piercings
Once the initial healing phase is complete and the fistula is stable, your focus should shift from sterilization to skin health. This is where the gap in traditional aftercare advice often lies. Biocompatible oils provide the nurturing care required to maintain tissue health over the long term.
- Jojoba Oil: This liquid wax closely mimics the skin's natural sebum. It provides deep hydration for ear lobes and stretched piercings without clogging pores.
- Rosehip Oil: Rich in essential fatty acids, it supports tissue elasticity and helps reduce the appearance of lingering redness or minor discoloration.
- Castor Oil: Known for its thick, protective consistency, it acts as a stabilizing force for skin that has undergone the stress of a new piercing.
A Final Word on Self-Expression
Your piercing is an investment in your personal identity. Protecting that investment requires moving away from the "quick fix" mentality of kitchen chemistry. The peace of mind that comes from using lab-tested, sterile products is invaluable. It allows you to enjoy your jewelry with the confidence that your health is being guarded by industry experts. When you prioritize professional standards, you aren't just healing a wound; you are honoring your body's creative evolution.
Are you ready to take the next step in your journey? If you are planning to size up, consult our ear gauge size chart for a safe and successful transition. Trust the process, respect the biology, and let your self-expression shine with the support of a specialist who cares about your long-term well-being.
Elevate Your Healing Protocol
Choosing professional standards over kitchen chemistry is the most significant decision you can make for your new piercing. As we have explored, the DIY piercing aftercare risks range from painful chemical burns to permanent hypertrophic scarring. Your body requires a precise, isotonic environment to thrive. By moving away from unpredictable homemade soaks and harsh essential oils, you give your skin the stability it needs to heal beautifully. True self-expression deserves a foundation of safety and clinical integrity.
BodyJ4You brings over 20 years of industry expertise to your aftercare routine. Our US-made skincare line features dermatologically focused ingredients designed to support your body's natural recovery. We prioritize biocompatibility and sterile solutions because your health is never optional. It is time to treat your piercing with the same intentionality you used to select your jewelry. Take the guesswork out of your journey and embrace a protocol that works with your biology, not against it.
Protect your piercing with BodyJ4You's Sterile Saline Aftercare Spray. Your style is a personal investment, and we are here to help you guard it with confidence and care.
Frequently Asked Questions
Can I use contact lens solution to clean my piercing if I run out of saline?
No, you should never use contact lens solution as a substitute for piercing aftercare. These products often contain preservatives, buffers, and cleaning enzymes designed specifically for synthetic lens materials rather than open wounds. Applying these chemicals to a healing fistula can cause significant irritation or allergic reactions. Stick to a 0.9% sodium chloride spray that is free from additives to ensure a safe recovery.
Is it safe to use sea salt from my kitchen to make a piercing soak?
Using sea salt from your kitchen is not recommended for piercing soaks. Most culinary salts contain trace minerals, anti-caking agents, or organic impurities that can irritate a fresh wound. Additionally, it is nearly impossible to measure the correct 0.9% isotonic ratio without laboratory equipment. This lack of precision is one of the most common DIY piercing aftercare risks that leads to tissue dehydration and delayed healing.
How do I know if my piercing bump is an infection or just irritation?
An infection typically presents with intense heat, persistent throbbing, and thick, foul-smelling discharge. Irritation is usually characterized by redness, itching, or a small bump without systemic symptoms like fever. If you notice red streaks radiating from the site or feel generally unwell, seek medical attention immediately. Distinguishing between the two helps you decide when to adjust your routine or consult a professional.
Why is tea tree oil often recommended for piercings if it's potentially dangerous?
Tea tree oil is frequently suggested in online forums due to its natural antiseptic properties, but this advice is often outdated. While it can kill bacteria, it is highly volatile and frequently causes chemical burns on compromised skin. Most people who recommend it are relying on anecdotal evidence rather than modern dermatological standards. For a fresh piercing, the priority is gentle stabilization, not aggressive chemical intervention.
Can I use rubbing alcohol to sanitize my piercing jewelry while it's in my ear?
You should avoid using rubbing alcohol on jewelry while it is still in your ear. Alcohol is extremely drying and will instantly kill the new skin cells trying to form around the piercing site. It can also damage the finish on certain types of jewelry or cause skin cracking. If you need to clean debris from your studs, use a saline-soaked swab instead of harsh sanitizers.
What should I do if I've already used a DIY hack and my piercing looks worse?
If a homemade remedy has caused a negative reaction, stop using it immediately and flush the area with sterile saline. Do not attempt to "fix" the damage with another household product like aspirin paste or peroxide. Instead, return to a simple, hands-off routine and monitor the site for signs of infection. If the redness or swelling doesn't subside within 48 hours, schedule a consultation with a professional.
How often should I use a sterile saline spray on a new piercing?
You should use a sterile saline spray twice daily, ideally once in the morning and once in the evening. Over-cleaning can be just as harmful as under-cleaning because it disrupts the body's natural moisture balance. A quick mist on both sides of the piercing is sufficient to remove crust and debris. Always pat the area dry with a clean, disposable paper towel afterward to prevent moisture-related irritation.
Is homemade saline solution ever acceptable for body piercings?
Current professional standards state that homemade saline is no longer an acceptable practice for wound care. The risk of using non-sterile water or an incorrect salt concentration is simply too high for a fresh puncture. Pre-packaged, sterile saline wound wash is the only way to guarantee a 0.9% isotonic balance. Investing in a professional spray eliminates the DIY piercing aftercare risks associated with unpredictable kitchen chemistry.


