

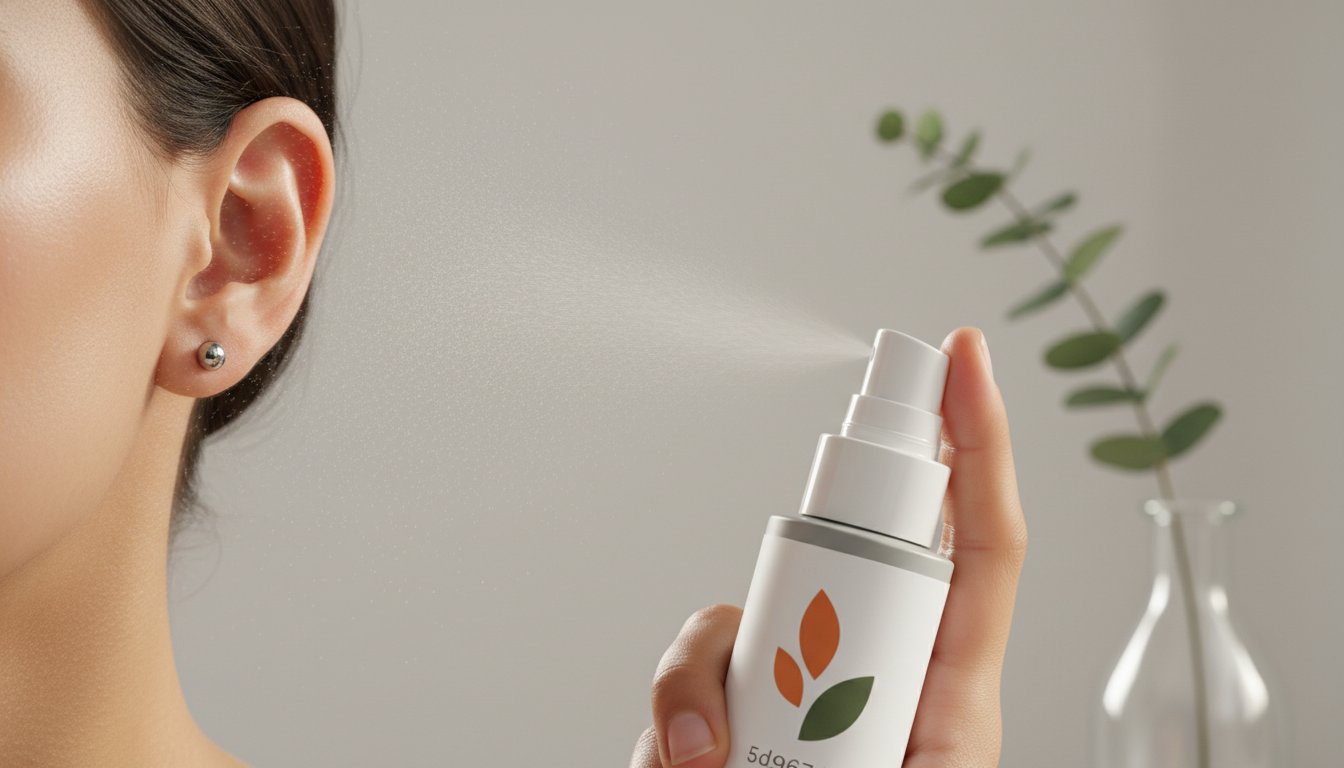
Recent studies from April 2026 reveal that 40.2% of cartilage piercings suffer from complications, while infections impact nearly a third of all cases. It's completely natural to feel protective of your new aesthetic and wary of the dreaded piercing bump. You likely want a healing process that is fast, painless, and predictable, yet the sea of conflicting advice makes it hard to know who to trust. Learning how to clean a new cartilage piercing should be a restorative ritual rather than a source of daily anxiety.
We act as your professional guardian through this delicate transition. By mastering the "Irrigate, Don’t Rotate" method, you can achieve a flawless heal while avoiding the irritation caused by outdated cleaning habits. This expert guide provides a steady, logical, and organized path toward a bump-free result. We will explore the science of sterile irrigation, define the markers of healthy healing, and establish a daily routine that prioritizes purity, safety, and your long-term well-being.
Key Takeaways
- Understand the 12-month healing journey of avascular tissue to set realistic expectations for your new aesthetic.
- Master how to clean a new cartilage piercing with sterile saline mist to maintain purity and prevent the common "piercing bump."
- Embrace the "Irrigate, Don’t Rotate" protocol to protect delicate tissue from unnecessary physical trauma and irritation.
- Learn to differentiate between healthy crusting and infection markers to act with confidence throughout the recovery phase.
- Shield your healing site from external irritants like hair products and mobile devices to ensure a seamless result.
Understanding Cartilage Healing: Why Your New Piercing Needs Specialized Care
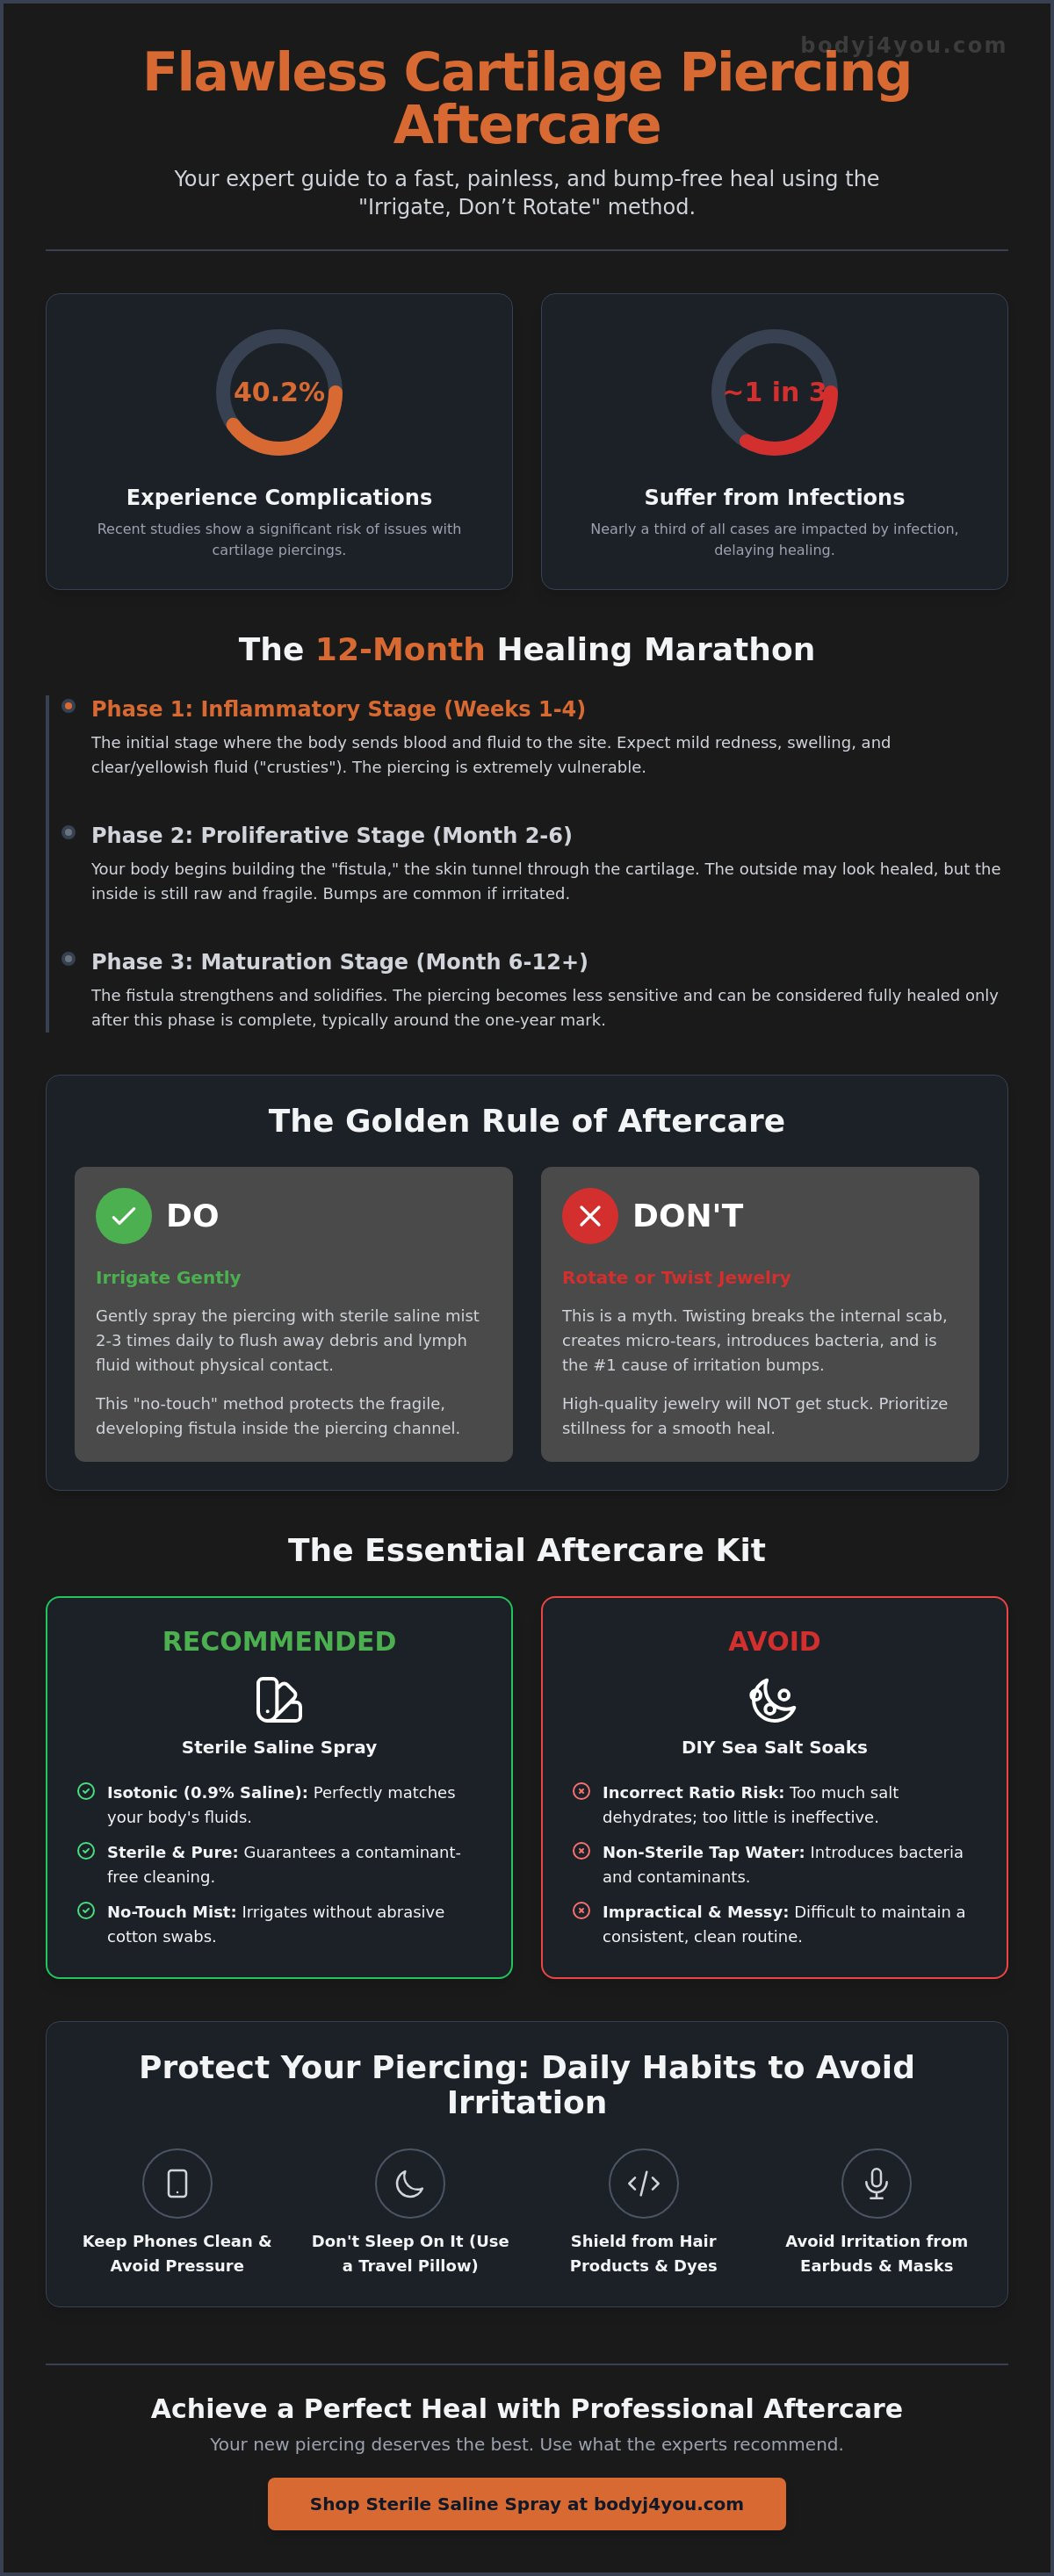
Cartilage is not simply "tough skin." It is a complex, avascular tissue. Unlike the fleshy earlobe, which enjoys a robust blood supply to fuel rapid repair, cartilage lacks its own internal network of vessels. This biological distinction means your body must work significantly harder to transport nutrients to the wound site. Because of this limited circulation, the body piercing healing process for cartilage is a marathon of patience. Current 2026 standards recognize a healing timeline of 6 to 12 months, a period where the tissue remains physically vulnerable to trauma and bacteria.
During this window, your body is focused on building a fistula. This is the internal "skin tunnel" that lines the piercing track. While the surface may appear settled within weeks, the internal fistula remains raw and fragile for months. This is why the LITHA philosophy—Leave It The Hell Alone—is the gold standard of modern aftercare. Success depends on your ability to protect this developing tunnel from disruption. Mastering how to clean a new cartilage piercing requires a shift in mindset: you are not scrubbing a wound, but rather irrigating a delicate biological structure.
The Anatomy of an Ear Piercing
Every placement within the ear's architecture presents unique challenges. The helix is prone to snags from hair and masks, while the conch sits deeper in the ear, making it a magnet for moisture and debris. The tragus reacts sharply to the pressure of earbuds or phone screens. Regardless of the location, you will likely notice lymph fluid during the initial weeks. This clear or pale yellow discharge is a normal sign of cellular repair, not a signal of infection. However, "industrial" piercings require double the vigilance. Because a single Industrial Barbell connects two separate wounds, any tension on one side creates immediate stress on the other, increasing the risk of irritation.
The Golden Rule: Stop Rotating Your Jewelry
One of the most persistent myths in piercing history is the idea that jewelry will "get stuck" to the skin if it isn't rotated daily. This is false. High-quality materials like Internal Threaded Labret Studs or surgical steel cannot fuse to your tissue. When you twist or turn your jewelry, you break the fragile internal "scab" that the body is trying to form. This creates micro-tears along the fistula, introducing bacteria and restarting the healing clock. Friction is the primary catalyst for the development of unsightly cartilage bumps. To ensure a smooth recovery, you must prioritize stability, sterility, and stillness. Knowing how to clean a new cartilage piercing means understanding that the best cleaning routine involves the least amount of physical contact possible.
The Essential Aftercare Kit: Sterile Saline vs. DIY Solutions
Achieving a perfect heal requires more than just patience; it requires the right chemistry. While the internet is full of anecdotal advice, modern professionals insist on a single, scientifically-backed solution: 0.9% sterile saline. This concentration is isotonic, meaning it perfectly matches the salinity of your body’s own fluids. Using a sterile saline spray for piercings ensures that you are introducing only pure, medical-grade ingredients to your wound. It is the most effective way to manage how to clean a new cartilage piercing without disrupting the delicate cellular work happening beneath the surface.
The temptation to mix a sea salt solution in your kitchen is real, but the risks are substantial. Tap water is not sterile, and the salt-to-water ratio is nearly impossible to master at home. Too much salt creates a hypertonic environment that dehydrates the tissue, while too little salt fails to provide the necessary osmotic pressure for cleaning. According to the APP aftercare guidelines, pre-packaged sterile saline is the only way to guarantee a contaminant-free environment for your jewelry. Purity, safety, and precision are the pillars of professional care.
Why Sterile Saline Wins Every Time
Professional sprays offer a "no-touch" delivery system that is vital for cartilage. A fine mist irrigates the area, flushes out debris, and hydrates the fistula without the need for abrasive cotton pads or physical manipulation. It’s clean. It’s precise. It’s portable. This convenience ensures you never miss a cleaning, even when your lifestyle keeps you on the move. Investing in a high-quality sterile saline spray is the simplest way to ensure your self-expression isn't derailed by avoidable complications.
The Danger of Harsh Chemicals
Many people reach for medicine cabinet staples out of habit. However, these substances are often too aggressive for a healing piercing. Avoid these red flags:
- Isopropyl Alcohol: This chemical is a vasodilator that kills the very fibroblast cells responsible for closing your wound.
- Hydrogen Peroxide: While it bubbles impressively, it actually dissolves the healthy new skin cells trying to form the fistula.
- Bactine and Ointments: These products often contain harsh preservatives or thick bases that trap bacteria and prevent the piercing from "breathing."
Solutions found at mall kiosks are frequently laden with benzalkonium chloride, an irritant that can lead to chronic redness and the formation of bumps. Mastering how to clean a new cartilage piercing means choosing products that support biology rather than fighting it.
Step-by-Step: How to Clean a New Cartilage Piercing Without Irritation
Cleaning is a ritual of preservation. It requires a disciplined approach to ensure the internal fistula remains undisturbed. When learning how to clean a new cartilage piercing, consistency is your greatest ally. A structured daily routine maintains the integrity of your jewelry and supports your body's natural defenses. Follow these five essential steps to ensure a seamless recovery and a vibrant result.
- Prioritize hygiene. Thoroughly wash your hands with an antimicrobial soap. This simple act is your first line of defense against the transfer of unwanted pathogens to your vulnerable tissue.
- Irrigate the site. Liberally apply Saline Piercing Aftercare Spray to both the front and back of the piercing. Ensure the stream reaches the entry and exit points of the jewelry.
- Soften the buildup. Allow the solution to sit for 30 to 60 seconds. This period of stillness allows the saline to penetrate and soften "crusties," which are composed of dried lymph fluid and cellular debris.
- Remove moisture. Gently pat the area dry with a fresh, disposable paper towel. Avoid cloth towels at all costs. They harbor bacteria, shed fibers, and can easily snag on an Industrial Barbell or labret stud.
- Refine the details. Only if necessary, use Piercing Cleaning Swabs saturated in saline to reach tight crevices. This step should be performed with extreme care to avoid moving the jewelry.
The "No-Touch" Irrigation Method
Modern aftercare focuses on irrigation rather than manipulation. The pressurized stream of a professional saline spray is specifically designed to flush out debris without the need for physical contact. This method respects the biological necessity for stillness. Air-drying is a safe alternative if you're in a clean environment, but patting with a paper towel ensures no moisture is trapped behind the ear. Stick to a steady rhythm of two cleanings per day. Over-cleaning can strip away the beneficial oils your body produces, which are essential for the how to clean a new cartilage piercing process.
Dealing with Persistent Debris
Stubborn buildup requires a patient hand. Never use your fingernails to pick at the site. This introduces trauma and bacteria directly into the wound. Instead, utilize the "shower method." Let warm, low-pressure water run over your ear for several minutes during your daily wash. This naturally loosens debris through gentle heat and hydration. For the final remnants, a saline-soaked swab provides the precision needed to clean without causing micro-tears. If you encounter persistent redness or minor swelling during this stage, a small application of Piercing Bump Treatment Oil can help soothe the surrounding skin and restore balance. Purity, precision, and protection are the keys to a successful heal.
Managing Crusties and Piercing Bumps: What’s Normal?
The journey toward a fully healed curated ear is rarely a perfectly straight line. You might wake up to find a small, raised area near the jewelry or a collection of stubborn, yellow debris. Understanding the difference between a natural biological reaction and a medical emergency is essential for your peace of mind. While you are learning how to get rid of piercing bump formations, remember that most issues stem from localized irritation rather than systemic infection. We act as your guardian through these fluctuations, providing the clarity you need to stay the course.
Most enthusiasts encounter "crusties" during the first few months. This is simply dried lymph fluid, a clear or pale substance that signals your body is actively sealing the internal wound. It's a sign of progress, not a problem. If you are diligent about how to clean a new cartilage piercing, these deposits will soften and rinse away during your daily saline ritual. If a bump does appear, it is typically an irritation bump caused by a snag or pressure. True keloids are a rare genetic condition involving excessive scar tissue, whereas irritation bumps are temporary signals that your ear needs more stability and care.
If you notice persistent swelling or a minor bump, a targeted approach can restore balance. We recommend applying our Piercing Bump Treatment Oil to soothe the surrounding tissue and encourage a return to a calm, healthy state.
Normal Symptoms vs. Red Flags
Your ear will communicate its status through various sensations. During the first week, it's normal for the area to feel tender, warm, and slightly swollen. Cartilage often "throbs" more than a lobe piercing because the tissue is denser and the jewelry sits under more tension. You should expect the following as part of a healthy recovery:
- Mild redness localized strictly around the entry and exit points.
- Clear or white discharge that dries into a crusty texture.
- Localized heat as the body increases blood flow to the area.
However, you must seek professional medical advice if you experience red flags such as a high fever, thick green or grey pus, or red streaks spreading away from the piercing site. These are signs that the body's defenses have been breached and require immediate attention.
The "Donut Pillow" Trick for Sleepers
The leading cause of cartilage complications isn't poor cleaning; it's physical pressure. Sleeping on a fresh piercing causes "pressure migration," where the jewelry is forced into an unnatural angle. This can permanently change the look of a septum piercing or a helix. To prevent this, use a travel or donut-shaped pillow, placing your ear in the center hole to eliminate all contact with the mattress. Additionally, ensure your hair is secured with a silk tie or clip. Loose strands can wrap around the post, introducing bacteria and causing micro-tears every time you move in your sleep. Mastery of how to clean a new cartilage piercing is only half the battle; the rest is about creating a protective environment for your body to do its work.
Beyond Cleaning: Lifestyle Habits for a Flawless Piercing
Mastering the technical steps of how to clean a new cartilage piercing is only half the battle. Your daily environment is a complex landscape of potential irritants that can disrupt the delicate biological work of healing. To ensure a seamless result, you must extend your vigilance beyond the bathroom mirror. Your lifestyle habits act as the silent architecture of a successful heal, providing a stabilizing force against the chaos of everyday life. Purity, protection, and patience are your new guiding principles.
The "Hair Product Shield" is your first line of defense. Shampoos, conditioners, and hairsprays are formulated for hair, not for open wounds. These products often contain harsh fragrances and synthetic chemicals that can cause chemical irritation or trap bacteria against the fistula. When showering, tilt your head so runoff avoids the ear. If you use styling sprays, cover your piercing with a clean disposable cup to create a physical barrier. Similarly, your mobile phone is a bacterial nightmare. For a new conch or helix piercing, the screen is a direct vector for pathogens. Use speakerphone or wireless earbuds, and ensure you sanitize your device screen daily with an alcohol-based wipe.
Your choice of jewelry material is non-negotiable. We strictly recommend 316L Surgical Steel or Implant-Grade Titanium. These materials are bio-compatible, ensuring your body doesn't waste energy fighting nickel allergies or surface oxidation. As the initial swelling subsides, typically between 4 and 8 weeks, a professional check-up is essential. Your piercer will likely "downsize" your post. While the initial long bar accommodates swelling, leaving it in too long creates a "lever effect" that causes friction bumps. A shorter, snugger fit reduces movement and protects the healing tunnel.
Daily Hygiene and Environmental Factors
Accessories that sit near the ear require constant attention. Glasses, headphones, and even knit hats can harbor bacteria or cause physical snags. Sanitize the arms of your glasses daily and opt for over-ear headphones only if they don't touch the piercing site. During winter, be mindful of scarves and beanies; a single snag can cause micro-tears that set your healing back by weeks. Additionally, avoid swimming in pools, hot tubs, or lakes for the first 4 to 6 weeks. Standing water is a reservoir for bacteria that can easily overwhelm a new cartilage piercing.
Long-Term Jewelry Maintenance
Even if your ear feels fine after a few months, resist the urge to change your jewelry too early. The internal fistula is still maturing. Prematurely swapping to fashion jewelry can cause the track to collapse or become irritated. For complex placements like an industrial piercing, we recommend using internal threaded labrets or barbells. Internal threading ensures the smooth part of the post passes through your ear, preventing the "sawing" effect of external threads. By combining these lifestyle habits with our expert advice on how to clean a new cartilage piercing, you are investing in a lifetime of beautiful self-expression.
Ready to support your healing journey with professional-grade tools? Shop BodyJ4You Aftercare Essentials to find everything you need for a safe and stylish recovery.
Your Path to a Flawless Curated Ear
Healing a cartilage piercing is an exercise in biological patience and environmental awareness. By prioritizing the "Irrigate, Don’t Rotate" protocol, you respect the body’s natural rhythm and protect the developing fistula from unnecessary trauma. Success lies in the details. You must choose medical-grade materials, shield the site from lifestyle irritants, and maintain a disciplined cleaning schedule. Mastering how to clean a new cartilage piercing is the essential foundation of a healthy, vibrant aesthetic that lasts a lifetime.
We believe in the power of purity and precision. Our aftercare solutions reflect over 20 years of piercing industry expertise, offering you the stabilizing force needed for a smooth recovery. Trust in dermatologist-tested saline formulas that are proudly USA-manufactured to ensure the highest standards of safety and integrity. Secure Your Healing with BodyJ4You Sterile Saline Spray and step forward with confidence in your journey of self-expression. Your body deserves the best care. You’ve got this.
Frequently Asked Questions
How many times a day should I clean my new cartilage piercing?
You should clean your piercing twice daily to maintain a stable and hygienic healing environment. Consistency is vital during the first few months. Over-cleaning can lead to excessive dryness and irritation, while under-cleaning allows bacteria and debris to flourish. Stick to a steady morning and evening routine using a sterile saline mist to ensure the tissue remains hydrated and protected.
Can I use a Q-tip to clean my cartilage piercing?
Avoid using standard cotton swabs because their loose fibers can snag on jewelry and leave behind irritating debris. These micro-fibers often harbor bacteria and cause physical trauma to the delicate fistula. If you must reach a tight crevice, utilize specialized Piercing Cleaning Swabs that are designed to be lint-free. This minimizes the risk of introducing foreign particles into the healing wound.
What should I do if my cartilage piercing gets a bump?
First, identify and eliminate the source of irritation, such as sleeping on the ear or using harsh chemicals. Most bumps are localized reactions to physical trauma rather than systemic infections. Applying a high-quality Piercing Bump Treatment Oil can soothe the area and reduce localized redness. If the bump persists or shows signs of infection like fever, consult a professional immediately.
Is it normal for my new piercing to bleed a little during cleaning?
Minor bleeding or spotting is a common occurrence during the initial week of the healing journey. As you learn how to clean a new cartilage piercing, you might notice small amounts of blood when softening and removing crusties. This is typically due to the fragile nature of the newly forming tissue. However, if the bleeding is heavy or persistent, seek advice from your piercer.
How long should I wait before changing my cartilage jewelry?
You should wait until the piercing is fully healed, which typically takes 6 to 12 months for cartilage tissue. While you may downsize your post with a professional after 4 to 8 weeks, a complete jewelry change should be delayed. Changing jewelry too early can cause the fistula to collapse or trigger an irritation bump. Patience ensures the internal skin tunnel is strong enough to handle new hardware.
Can I use sea salt from my kitchen to make a cleaning solution?
You should never use homemade salt mixtures for aftercare because kitchen salt often contains anti-caking agents or iodine. Additionally, tap water is not sterile. It is nearly impossible to achieve the precise 0.9% sodium chloride concentration required for safe healing at home. Using a pre-packaged Saline Piercing Aftercare Spray guarantees a contaminant-free, isotonic solution that supports your body's natural repair process.
Why does my cartilage piercing feel hot and swollen after cleaning?
Post-cleaning heat and swelling often indicate that the area has been over-stimulated or handled too roughly. If you are scrubbing the site rather than using a gentle mist, the tissue will react with inflammation. Ensure you are following the correct steps for how to clean a new cartilage piercing by using a no-touch irrigation method. This keeps the tissue calm and allows the swelling to subside naturally.
Should I move the ring or stud while I am cleaning it?
You should keep the jewelry as still as possible during the entire cleaning process. Moving, rotating, or twisting the stud breaks the fragile internal scab that forms the lining of your piercing. This movement introduces bacteria and causes micro-tears that lead to scarring and irritation bumps. Trust the saline mist to irrigate the area effectively without the need for any physical manipulation.


