

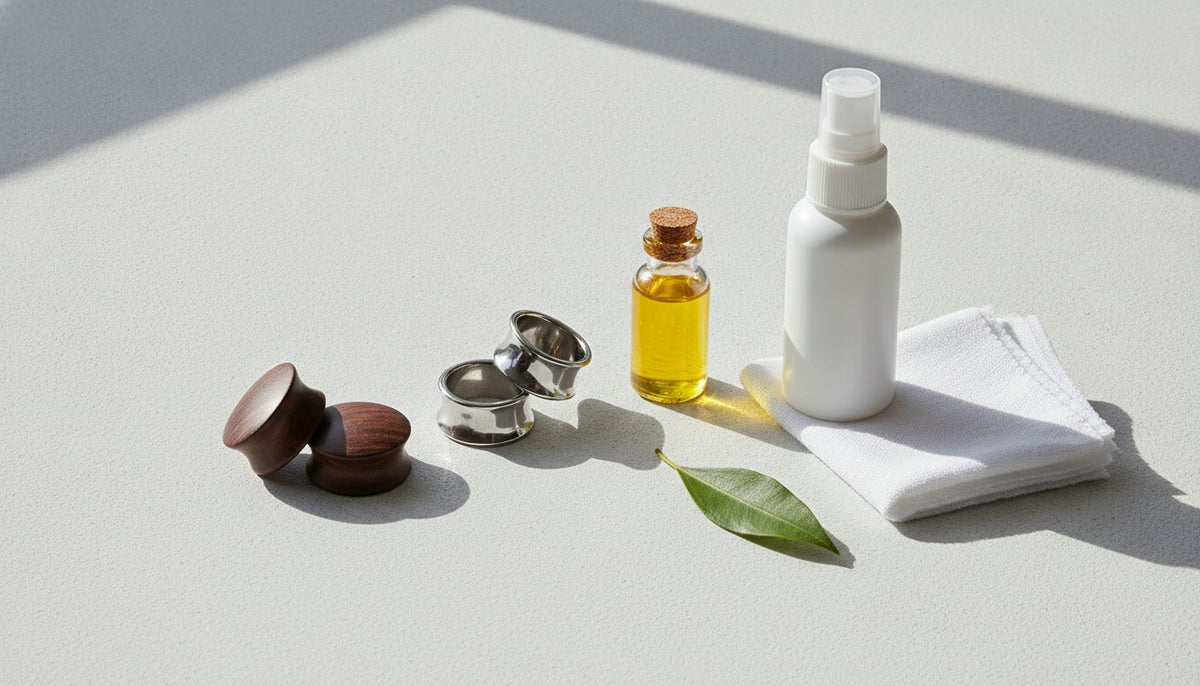
That lingering, pungent scent often called "ear cheese" isn't a mandatory price you pay for self-expression. It's a biological signal that your hygiene routine needs a professional upgrade. You've likely felt that moment of hesitation when removing your jewelry, fearing a sharp odor or the sting of an accidental irritation. We believe that your lobes are a living canvas that requires both artistic vision and dermatological care. This 2026 guide empowers you to master exactly how to clean ear gauges while nurturing the delicate, vulnerable tissue of your skin.
Our approach focuses on three core pillars: purity, safety, and longevity. You'll learn to eliminate stubborn odors, prevent painful infections, and maintain the structural integrity of your favorite pieces. We'll walk through the specific requirements for surgical steel, acrylic, and organic materials to ensure your collection never degrades. By the end of this guide, you'll have a professional-grade ritual that keeps your lobes moisturized and your jewelry smelling fresh. Let's transform your aftercare from a daily chore into a sophisticated wellness practice.
Key Takeaways
- Identify the biological causes of "ear cheese" to effectively neutralize stubborn odors and prevent harmful bacteria growth.
- Master the essential steps for how to clean ear gauges based on specific materials, protecting your jewelry from degradation and your skin from irritation.
- Adopt a daily hygiene ritual involving jewelry removal and Jojoba oil application to ensure your lobes remain healthy, moisturized, and elastic.
- Learn to distinguish between normal sebum buildup and signs of medical infection while applying the "Leave It Alone" rule for healing stretches.
- Establish a long-term maintenance schedule using professional saline sprays and protective balms to maintain a clean, high-end aesthetic.
Understanding "Ear Cheese": Why Regular Cleaning is Essential
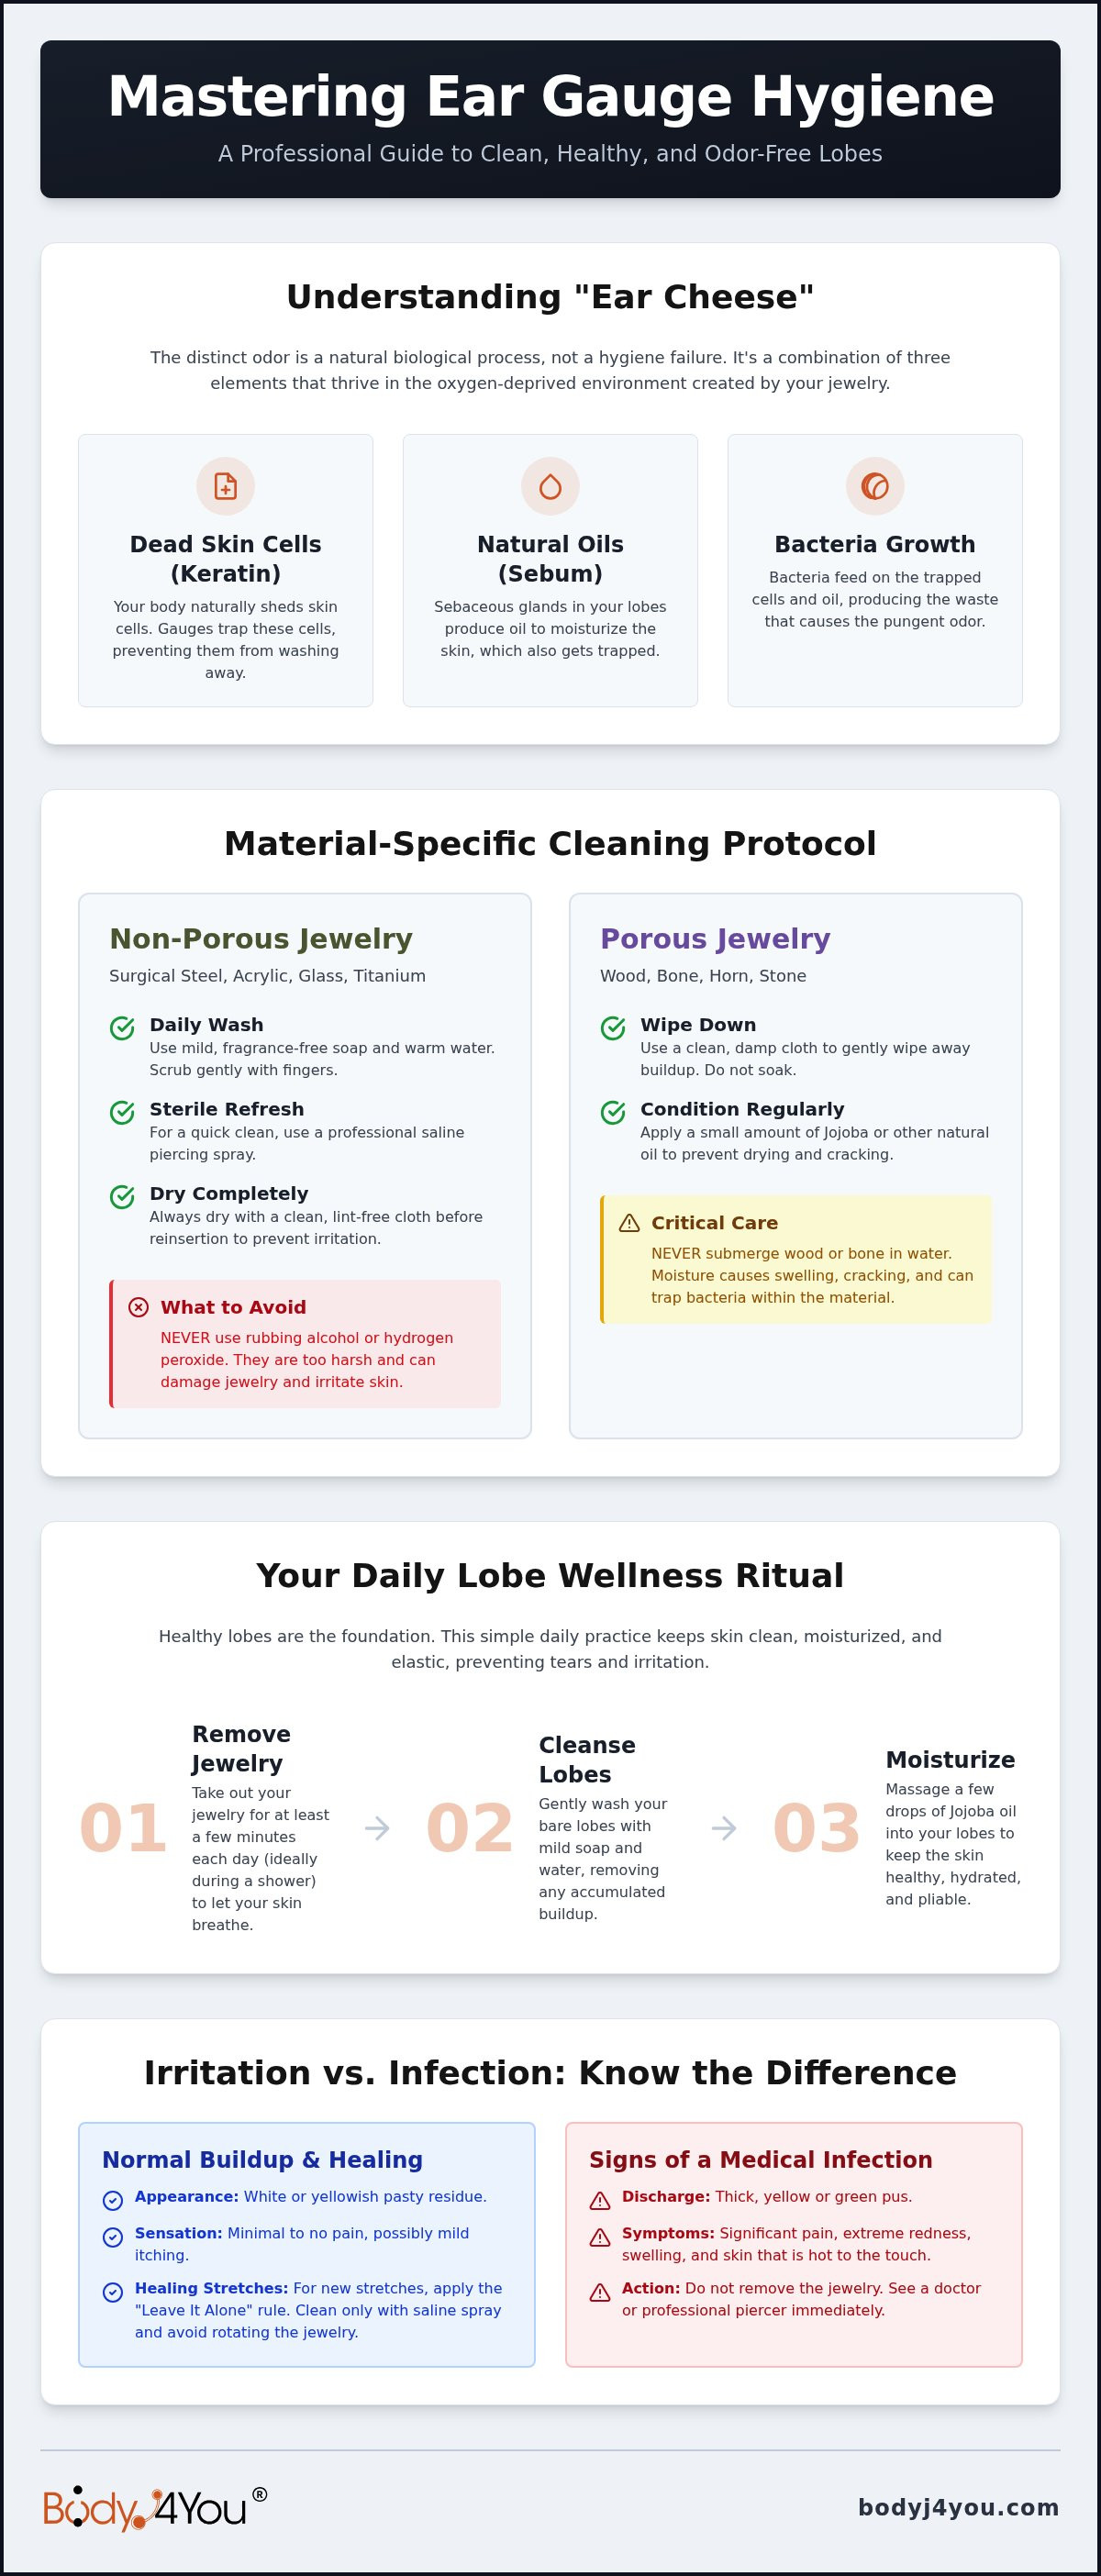
Stretched ears are a profound journey of personal aesthetics and biological adaptation. However, the physical reality of the lobe often presents a specific challenge known as "ear cheese." This isn't a sign of poor character; it's a natural accumulation of dead skin cells, known as keratin, and natural body oils called sebum. This buildup is a common byproduct of Stretching (body piercing), where the jewelry creates a seal that prevents natural shedding. Mastering how to clean ear gauges is essential to maintaining the sophisticated, clean look you've worked hard to achieve.
The Biology of Stretched Ear Odor
Your earlobes are densely packed with sebaceous glands. These glands produce oils to protect and moisturize your skin. In a typical piercing, air circulates freely and debris washes away during normal bathing. Stretched lobes change this dynamic. The jewelry acts as a barrier, trapping moisture and skin cells in a dark, oxygen-deprived environment. Bacteria thrive in these conditions, breaking down the trapped keratin and producing the distinct, pungent odor associated with neglect. The fistula, the internal tunnel of healed skin, serves as a pocket where this debris collects and compacts over time. This process is biological, predictable, and entirely manageable with the right expertise.
Neglecting this buildup carries more than just social consequences. While the odor is often the first thing people notice, the health of your skin is the primary concern. Excessive buildup can lead to micro-tears, localized inflammation, and a higher risk of bacterial infection. A disciplined hygiene routine ensures your lobes remain resilient. We aim for a balance of purity, protection, and hydration. You deserve a routine that eliminates waste without stripping the skin of its necessary moisture.
Signs Your Gauges Need Immediate Cleaning
Your body provides clear indicators when it's time for a deep clean. Ignoring these signs can lead to discomfort or skin degradation. Monitor your lobes daily for these three specific markers:
- Visible Crusting: A white or yellowish residue appearing around the edges of your plugs or tunnels.
- Distinct Odor: A sour or pungent scent that becomes noticeable when you rotate or remove your jewelry.
- Physical Irritation: Persistent itching, a "heavy" feeling in the lobe, or localized warmth.
Recognizing these signals early allows you to adjust how to clean ear gauges before minor buildup turns into a medical irritation. Consistency is the guardian of your aesthetic health.
Material-Specific Cleaning: From Surgical Steel to Organic Wood
Your jewelry collection is an investment in your personal identity. Understanding the biological and physical properties of your pieces is the first step in learning how to clean ear gauges effectively. We categorize jewelry into two distinct groups: non-porous and porous. Non-porous materials like surgical steel or acrylic provide a smooth surface that resists absorption. Conversely, organic materials like wood, bone, and stone are porous. They possess microscopic structures that can harbor bacteria if managed incorrectly. Mixing these materials in storage can lead to cross-contamination, so keep your collection organized by type.
A common mistake is reaching for harsh disinfectants. You must avoid rubbing alcohol or hydrogen peroxide. These substances are too aggressive; they can crack acrylic, tarnish metal, and cause severe dermatological distress. Following the Association of Professional Piercers aftercare guidelines ensures you protect both your aesthetic pieces and your physical well-being. Stick to pH-balanced, fragrance-free cleansers to maintain the integrity of your skin and your jewelry.
Cleaning Non-Porous Jewelry: Steel and Acrylic
For your surgical steel and acrylic pieces, a daily ritual of mild soap and warm water is the gold standard. Scrub gently with your fingers to remove any keratin buildup. If you're on the go, a quick application of Saline Piercing Aftercare Spray provides a sterile refresh without the need for rinsing. Always dry your jewelry completely with a lint-free cloth before reinsertion. Trapped moisture between the jewelry and the lobe is a primary catalyst for bacterial growth and irritation.
Maintaining Organic Gauges: Wood, Bone, and Stone
Organic materials require a more nuanced touch. Never submerge wood or bone in water. Excessive moisture causes wood to swell and eventually crack, creating sharp edges that can damage your fistula. Instead, use a slightly damp cloth to wipe the surface clean. Immediately follow this with a light coating of Jojoba oil. This natural oil acts as a protective barrier. It maintains the luster of the material while keeping it supple and resistant to environmental damage. Treat these pieces like fine wood furniture; they need hydration, not a bath.
Establishing a material-specific schedule keeps your lobes healthy. Clean non-porous jewelry daily. Wipe and oil organic pieces every two to three days. This discipline prevents the buildup of "ear cheese" and ensures your jewelry remains as vibrant as the day you bought it.
Daily Lobe Hygiene: Caring for the Skin Behind the Jewelry
Cleaning your jewelry is only half the battle. The living tissue of your fistula requires dedicated care to remain elastic, resilient, and healthy. Once your ears are fully healed, you must adopt the "Daily Removal" rule. This practice involves removing your jewelry for at least thirty minutes every twenty-four hours. Understanding how to clean ear gauges effectively means recognizing that your skin needs a break from the constant pressure of plugs or tunnels. This "air-time" promotes vital blood circulation and prevents the skin from becoming thin or brittle over time. Integrating this hygiene ritual into your existing morning or evening routine ensures that your lobes stay as vibrant as your jewelry collection.
The Step-by-Step Lobe Wash
A disciplined washing technique prevents the accumulation of keratin and sebum before it becomes a problem. Always begin with clean hands. Bacteria from your fingertips can easily migrate into the fistula, causing micro-infections that stall your progress. Instead of using harsh antibacterial soaps that strip the skin of its natural defenses, use a professional-grade solution to maintain purity and balance.
- Flush the fistula: Use Saline Piercing Aftercare Spray to gently rinse the interior of the lobe. This sterile solution removes debris without causing micro-tears.
- Gentle cleansing: If there is significant buildup, use a fragrance-free, pH-balanced cleanser on a soft cloth to wipe the area.
- Dry thoroughly: Use a clean, lint-free paper towel to gently pat the skin dry. Moisture trapped inside the fistula is a primary catalyst for irritation and odor.
The Power of the Oil Massage
Hydration is the guardian of elasticity. After washing and drying your lobes, a daily massage is essential for long-term health. We recommend using Jojoba oil because its chemical structure is the closest match to human sebum. It absorbs deeply into the skin without clogging pores, providing a protective and nourishing barrier. For those who prioritize high-quality skin support, Longevity Oils USA offers premium wellness oil collections that can enhance your daily massage ritual.
Apply a few drops of oil to the pads of your fingers and massage the lobe in firm, circular motions for two to five minutes. This technique serves three critical purposes: it breaks down stubborn scar tissue, increases localized blood flow, and stimulates the production of healthy skin cells. Regular massages help thicken the lobes, providing a stronger, more cushioned foundation for future stretching. This is the difference between a thin, vulnerable lobe and a healthy, high-end aesthetic. Master this routine to ensure your self-expression remains safe and sustainable.
Identifying Irritation: When to Clean or See a Pro
While mastering how to clean ear gauges is a cornerstone of daily maintenance, you must learn to recognize when your body requires rest rather than more scrubbing. Over-cleaning is a common pitfall among enthusiasts. Excessive washing strips the skin of essential lipids, leading to a brittle, thin fistula that is prone to tearing or irritation. If your lobes feel persistently dry, tight, or flaky, you've likely over-extended your hygiene routine. In these moments, the "Leave It Alone" (LITHA) rule is your best defense. This principle dictates that you minimize physical contact and allow the body's natural regenerative processes to take over without interference.
Normal Buildup vs. Infection
Distinguishing between sebum and infection is critical for your safety and peace of mind. Normal "ear cheese" is typically white or pale yellow and lacks a strong inflammatory response. In contrast, a clinical infection manifests through three distinct markers: localized heat, persistent swelling, and throbbing pain. Pay close attention to the type of discharge present. Clear or straw-colored lymph fluid is a normal part of the body's healing and maintenance process; however, thick yellow, green, or bloody pus is a clear signal for medical intervention. A blowout, characterized by a visible ring of displaced scar tissue at the exit of the piercing, requires immediate jewelry removal and professional consultation to prevent permanent deformity.
Downsizing your jewelry is often the most responsible course of action when irritation occurs. If your lobe feels under pressure or shows signs of minor tearing, retreating to a smaller size allows the tissue to relax and receive better blood flow. This temporary transition is not a failure; it's a strategic move to ensure the long-term health and thickness of your lobes.
Cleaning Mistakes to Avoid
Avoid these common errors that compromise your skin's integrity. Refining your technique for how to clean ear gauges means understanding what to omit as much as what to include. Never apply undiluted tea tree oil to your lobes. While it has antiseptic properties, this potent essential oil can cause severe chemical burns on sensitive, stretched skin. Similarly, steer clear of cotton swabs or Q-tips for internal cleaning. These tools often shed microscopic fibers that become trapped in the fistula, leading to chronic irritation or the formation of granulomas. Finally, stop "spinning" your jewelry during the cleaning process. This unnecessary movement creates friction, introduces bacteria into the tunnel, and can cause micro-tears that delay healing.
When persistent redness or small bumps appear, using a professional piercing bump treatment oil can help soothe the tissue and restore a calm, healthy aesthetic to your lobes.
The Ultimate Maintenance Routine: Professional Tools for Health
A daily ritual keeps keratin and sebum from compacting into problematic "ear cheese." This routine should be as automatic as brushing your teeth. It prioritizes three core actions: inspection, purification, and hydration. By removing the jewelry daily, you allow the fistula to breathe and recover from the constant pressure of your plugs.
- Morning: Perform a quick visual inspection and wipe the external edges of your jewelry with a clean, lint-free cloth to remove any overnight residue.
- Shower: Remove your jewelry entirely. Use Saline Piercing Aftercare Spray to flush the fistula while the skin is warm and pores are receptive.
- Post-Shower: Once the skin is dry, perform a two-minute massage using Jojoba oil or Rosehip oil. This maintains the skin's natural lipid barrier and improves localized blood flow.
Long-Term Protection with Gauges Balm
Your jewelry requires more than just soap and water. Specialized products provide the protective layer necessary for modern life. We recommend using a dedicated Gauges Balm to act as a superior lubricant. This makes jewelry insertion effortless and prevents the micro-tears often caused by dry friction. The balm also creates a breathable moisture barrier. This is essential during harsh winter months or in dry climates to prevent the uncomfortable "stuck plug" syndrome where skin adheres to the jewelry surface. Using a balm after a successful stretch also helps soothe the tissue and reduce localized tension.
The quality of your foundation determines the success of your journey. Using a professional ear stretching kit provides you with the verified materials needed to avoid allergic reactions or material degradation. For long-term health, supplement your daily wash with a weekly deep clean of all jewelry in your collection. Every month, assess your lobe thickness and skin texture. If you notice thinning, increase the frequency of your oil massages or consider a temporary downsize to allow the tissue to recover. Your self-expression deserves the highest standard of care.
Elevate Your Daily Aftercare Ritual
Your journey toward self-expression is a balance of biological integrity and aesthetic choice. By mastering exactly how to clean ear gauges through material-specific care and daily hydration, you ensure your lobes remain a healthy, vibrant canvas. We've explored the necessity of consistent jewelry removal, the restorative power of Jojoba oil massages, and the critical indicators of skin health. Purity. Safety. Empowerment.
BodyJ4You has been trusted by professional piercers since 2001 to provide the protective force your body modification requires. Our locally manufactured aftercare oils are dermatologically safe and designed with clinical precision. We offer comprehensive kits for every stage of your stretching journey, ensuring you don't have to choose between your health and your style. Take the next step in your wellness-oriented aesthetic today.
Shop BodyJ4You Aftercare Essentials for Healthy Stretched Ears
Stay confident in your transformation, knowing your well-being is guarded by two decades of industry expertise.
Frequently Asked Questions
How often should I clean my ear gauges?
You should clean your ear gauges every single day to maintain optimal hygiene and skin health. This daily ritual involves removing the jewelry, washing the skin, and sanitizing the accessory with mild, fragrance-free soap. Daily maintenance prevents the accumulation of sebum and dead skin cells that lead to the notorious "ear cheese" odor. For those learning how to clean ear gauges while traveling, a professional saline spray provides a quick, sterile alternative between deep washes.
Why do my ear gauges smell even after I clean them?
Persistent odor often indicates trapped moisture or the use of porous jewelry materials. Organic materials like wood, bone, or stone possess microscopic pockets that harbor bacteria even after a surface wipe. If the smell remains after cleaning, ensure your lobes and jewelry are completely dry before reinsertion. Trapped dampness is a primary catalyst for bacterial growth. Consider switching to non-porous surgical steel or acrylic if odors become unmanageable despite a rigorous daily routine.
Can I clean my gauges with rubbing alcohol or hydrogen peroxide?
You must never use rubbing alcohol or hydrogen peroxide on your jewelry or your lobes. These substances are far too aggressive for sensitive, stretched skin. Alcohol can cause acrylic jewelry to crack or "craze," while peroxide kills healthy cells and delays the body's natural healing process. Stick to pH-balanced cleansers or professional saline solutions to ensure your skin remains resilient, hydrated, and free from chemical burns. Purity, safety, and protection are your priorities.
Is it okay to sleep without my gauges in to keep them clean?
Sleeping without jewelry is highly recommended for fully healed stretched ears to improve circulation and skin health. This "naked time" allows the fistula to breathe and prevents the thinning of the lobe tissue. However, if your stretch is fresh or hasn't fully stabilized, your ears may shrink overnight. Start with short periods of jewelry-free time during the day before committing to a full night of sleep without your plugs to test your skin's elasticity.
What is the best oil for cleaning and massaging stretched ears?
Jojoba oil is the superior choice for massaging and nourishing stretched ears because its chemical structure closely mimics human sebum. It absorbs deeply to improve elasticity without clogging pores. Other high-quality options include Rosehip oil for its regenerative properties or Castor oil for its thick, protective consistency. Regular application of these oils ensures your lobes stay moisturized, supple, and prepared for future stretching milestones. Consistent massage is the guardian of long-term lobe thickness.
Should I clean my ears differently if they are freshly stretched?
Freshly stretched ears require a more delicate, hands-off approach compared to healed ones. You should follow the "Leave It Alone" rule, using only sterile saline spray to flush the area twice daily. Do not remove the jewelry or perform oil massages until the initial soreness and inflammation have completely subsided. Moving the jewelry too early can cause micro-tears and introduce bacteria into the vulnerable, newly stretched tissue. Patience is the foundation of a healthy stretch.
Can I use tap water to clean my earlobes?
Tap water is generally safe for cleaning fully healed earlobes during your daily shower. However, if you have a fresh stretch or any signs of irritation, you should use sterile saline instead. Tap water can contain trace minerals, chlorine, or bacteria that may irritate sensitive tissue. Always ensure you dry the area thoroughly with a lint-free paper towel after any exposure to water to prevent moisture-related bacterial growth. Cleanliness requires a disciplined, dry environment.
What should I do if my ear gauges are stuck and won’t come out?
If your jewelry feels stuck, you must remain calm and avoid forceful pulling, which can cause painful blowouts. Start by taking a warm shower to relax the earlobe tissue and soften any compacted debris. Once the skin is warm, apply a generous amount of Jojoba oil or Gauges Balm to the edges of the jewelry. Gently massage the lobe until the jewelry slides out freely. If it remains stuck after several attempts, consult a professional piercer immediately.


