

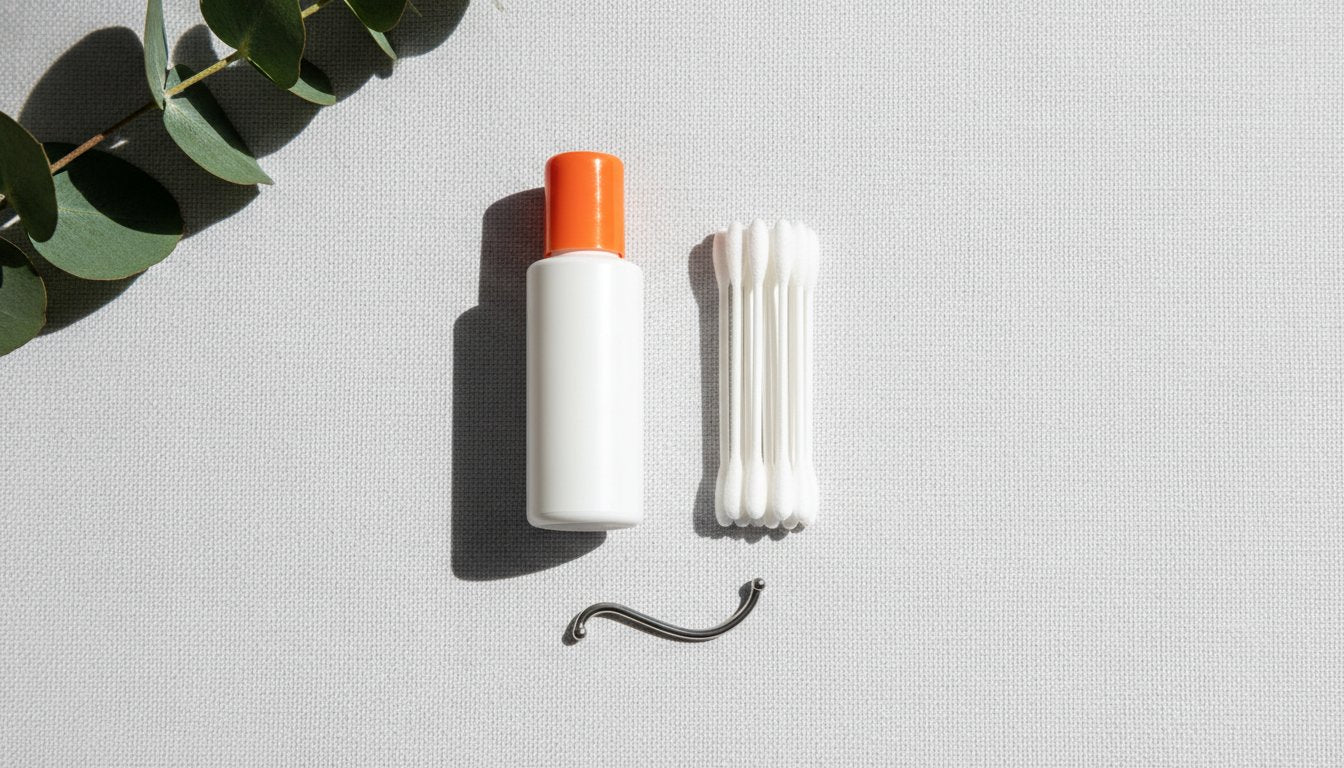
A rook piercing is an architectural masterpiece for your ear; however, it demands a level of biological respect most people underestimate. You likely feel a mix of excitement for the aesthetic, a genuine fear of the sharp cartilage sting, and anxiety about those dreaded irritation bumps. It's common to feel overwhelmed by conflicting online advice. Our 2026 specialist's guide simplifies the complexities of rook piercing pain and aftercare so you can move forward with total confidence.
We believe in a philosophy of purity, precision, and protection. You'll master a clinical-grade cleaning routine that replaces harsh chemicals with a soothing saline piercing aftercare spray and sterile piercing cleaning swabs. We'll also help you navigate the essential choices between implant-grade titanium and solid gold. This article previews the 12-month healing timeline, offers expert pain management tips, and identifies the exact jewelry specifications needed for a healthy recovery. Your journey toward self-expression should be safe, informed, and beautiful. We're here to act as your supportive specialist through every stage of the process.
Key Takeaways
- Understand the anatomical complexity of the inferior crus and why its double-fold cartilage creates a unique, deep pressure sensation during the procedure.
- Select jewelry based on material integrity, anatomical fit, and healing stability, prioritizing curved barbells in implant-grade titanium or surgical steel.
- Implement a clinical-grade routine for rook piercing pain and aftercare that utilizes sterile 0.9% sodium chloride to mirror your body’s biology.
- Distinguish between common irritation bumps and infections by identifying environmental triggers like moisture traps and improper sleeping habits.
- Replace outdated DIY salt soaks with professional-grade saline sprays and cleaning swabs to prevent cellular shock and bacterial introduction.
Mapping the Rook: Anatomy and the Pain Reality
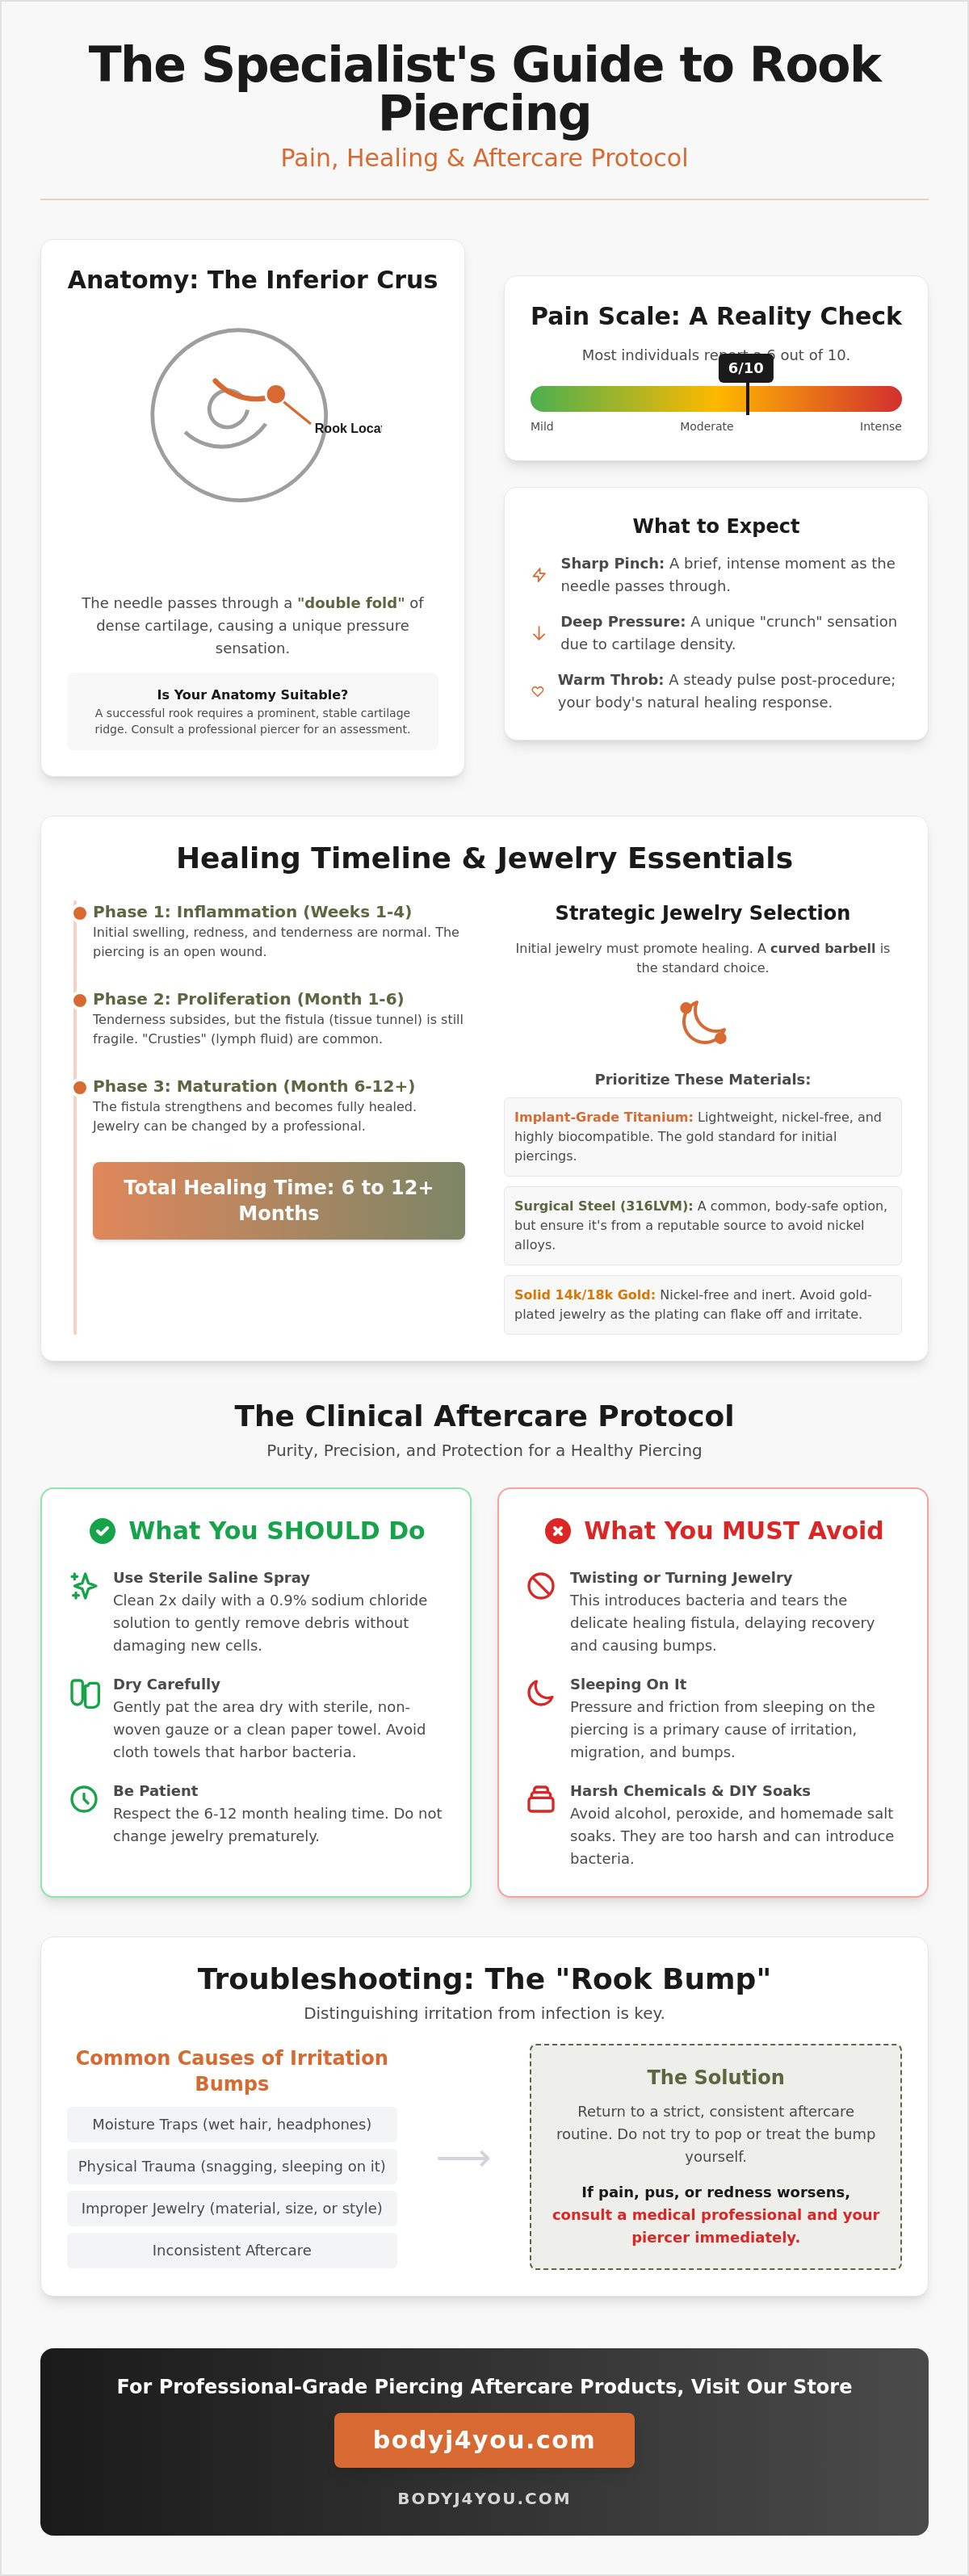
The rook piercing sits on the inferior crus of the antihelix ridge, a small but robust fold of cartilage within the upper ear. This specific location is unique because the needle must pass through a "double fold" of dense tissue. This anatomical density is why many describe the sensation as a deep, intense pressure rather than a simple prick. For a foundational Rook piercing overview, one can see how its placement defines its modern aesthetic. Understanding the relationship between your ear's unique shape and rook piercing pain and aftercare is the first step toward a successful heal.
On a standard pain scale, most individuals report a 6/10. This number isn't fixed; it fluctuates based on the thickness of your cartilage ridge and your personal tolerance. You'll experience a sharp, momentary pinch as the needle traverses the tissue, followed quickly by a warm, dull throb. This secondary phase is your body’s natural inflammatory response beginning its work. It's a steady, rhythmic pulse that signals the arrival of white blood cells to the site. While it feels intense, it's a necessary part of the biological blueprint for recovery.
Is Your Anatomy Right for a Rook?
A successful rook requires a prominent, stable shelf of cartilage. If your ridge is too shallow or thin, the jewelry won't have enough tissue to anchor securely. This increases the risk of migration, where the piercing shifts position, or total rejection. A professional will look for enough "real estate" to accommodate the jewelry without putting undue pressure on the surrounding folds. If the anatomy isn't quite right, they might suggest a faux-rook or a different cartilage placement to protect your long-term health. Consulting a professional for an anatomy-first assessment is the only way to ensure safety.
The "Wise Guardian" Perspective on Pain
We view the first 48 hours as a period of biological transition. It's a time to be patient, protective, and proactive. While the initial "crunch" sensation can be startling, focused breathing and the body’s natural adrenaline surge will help you manage the peak discomfort. Try to maintain a steady, deep rhythm during the procedure to keep your nervous system regulated.
Managing rook piercing pain and aftercare effectively also means setting realistic expectations for the first night of sleep. Prepare for the area to feel tender and swollen. It's a sign of life, a sign of healing, and a sign that your body is beginning to integrate your new piece of self-expression. Avoid sleeping on the side of the new piercing to prevent unnecessary friction and pressure. By respecting these early boundaries, you set the stage for a smooth, high-end aesthetic result that lasts a lifetime.
The Piercing Day: Procedure and Initial Sensations
The procedure begins with clinical precision. Meticulous sterilization is the first step. Your piercer will cleanse, mark, and stabilize the antihelix ridge using a surgical pen and a receiving tube. Unlike a standard lobe piercing, the rook requires this small metal tube to provide a stable backing for the cartilage fold. It ensures the needle doesn't slip during the passage through the dense tissue. You'll feel a significant amount of pressure before the needle even touches your skin. This is the tube securing the fold. Because the cartilage is thick, the needle takes a fraction of a second longer to "catch" and pass through than it would on a softer area. This delay is normal. It's a reflection of the structural integrity of your ear. Mastering the initial stages of rook piercing pain and aftercare starts with acknowledging these procedural nuances.
Immediate post-piercing care involves managing minor bleeding and localized swelling. Your piercer will apply gentle pressure to the site until any spotting stops. The area will feel warm and look vibrant. This is your body's natural defense mechanism. To support this recovery, avoid touching the jewelry or the surrounding skin. Your role is to act as a protective guardian for the new wound. Properly navigating rook piercing pain and aftercare involves keeping the site undisturbed during these first critical moments of tissue trauma.
The Mechanics of the Needle
A professional always uses a hollow, tri-beveled needle. Piercing guns are never an option for cartilage. Guns use blunt force to crush through tissue, which causes significant trauma and slows healing. A hollow needle removes a tiny core of tissue. This creates a clean, surgical channel for the jewelry. This "removal" rather than "displacement" allows the wound to heal from the inside out without being compressed by surrounding cells. During the jewelry transfer, the piercer follows the needle directly with a curved barbell. It's a seamless transition that minimizes additional irritation.
The First Hour: From Sharp to Throb
Expect localized heat and redness. Your ear will likely turn a vibrant shade of pink. This is a sign of healthy blood flow. To ensure your body manages this stress well, avoid caffeine or blood thinners for 24 hours before your appointment. These substances can increase bleeding and make you feel jittery. Hydration is equally vital. Low blood sugar combined with procedural nerves can lead to fainting. Once the jewelry is secure, the sharp sting fades into a steady throb. According to University Health aftercare guidelines, keeping the area clean from the very first hour is paramount. You can begin managing minor swelling immediately with a gentle saline piercing aftercare spray to keep the site pristine and calm.
Strategic Jewelry Selection: Materials and Styles for Healing
Choosing your initial jewelry is not merely a matter of aesthetics; it is a clinical decision that dictates the trajectory of your recovery. For a new rook, the curved barbell is the undisputed gold standard. Its shape mimics the natural contour of the antihelix, providing stability while minimizing the torque that leads to irritation. Unlike hoops, which rotate and drag bacteria into the wound, a barbell remains stationary. This lack of movement is essential for managing rook piercing pain and aftercare effectively. It allows the delicate fistula to form without constant disruption. Stability. Purity. Integrity.
Material integrity is your primary defense against rejection. We prioritize implant-grade titanium (ASTM F-136) and high-quality 316L surgical steel. These metals are chosen for their biocompatibility and lack of nickel, which is a common allergen. When your body recognizes the material as safe, it can focus its energy on cellular repair rather than fighting a foreign irritant. Following professional piercing aftercare standards means ensuring your jewelry matches the biological needs of your tissue from day one.
Initial jewelry must also account for the body's natural inflammatory response. Your first bar will be significantly longer than the one you'll wear long-term. This extra length provides necessary space for swelling. If a bar is too short, it can "nest" into the skin, causing extreme pressure and potential necrosis. You should expect to wear this "starter" jewelry for several months before a professional performs a downsize to a more snug fit.
Why Internal Threading Matters
The architecture of the jewelry's screw mechanism is vital. External threading features the screw threads on the outside of the bar, which act like a saw against the raw fistula during insertion. Internal threading means the bar is smooth, and the threads are tucked inside the decorative end. This design creates a seamless junction that prevents tissue damage and bacterial accumulation. Internal threading is the non-negotiable safety standard for 2026 jewelry selection.
Moving to Hoops and Clickers
Patience is the hallmark of a wise collector. You should follow the "six-month rule" before considering a switch to hoops or decorative hearts. A mature fistula will feel flexible, look consistent in color, and produce no discharge. Once healed, you might explore internal threaded labret studs for secondary styling or a sophisticated clicker for a more ornate look. Rushing this transition often leads to the return of rook piercing pain and aftercare complications. Wait for the biological "green light" before changing your aesthetic.
The Clinical Aftercare Protocol: Beyond the Sea Salt Soak
Healing a cartilage piercing is a disciplined partnership between your body and your hygiene routine. It requires biological alignment. We advocate for the use of 0.9% sodium chloride, a solution that mirrors your body's natural chemistry. This isotonic concentration supports cellular repair without causing distress. DIY salt soaks often fail this standard of precision. They introduce kitchen bacteria. They cause "osmotic shock" by dehydrating healing cells through improper salt-to-water ratios. A professional approach to rook piercing pain and aftercare prioritizes purity, precision, and protection.
We strictly follow the LITHA method: Leave It The Heck Alone. Your body is a sophisticated, self-healing organism. Every time you twist the jewelry or touch the site, you tear the fragile new tissue forming within the fistula. This leads to unnecessary inflammation. It leads to scarring. It leads to setbacks. Adopt a morning and evening routine that is steady, logical, and disciplined. Consistency is the foundation of a successful heal. By minimizing physical interference, you allow the biological blueprint of recovery to unfold undisturbed.
The Sterile Saline Advantage
Using a sterile saline spray for piercings ensures a consistent pH level with every application. It's safe. It's effective. It's precise. We recommend the "mist and pat" technique to avoid mechanical irritation. Spray the area gently to flush away debris. Use a clean, disposable paper towel to pat the surrounding skin dry. Pressurized cans are superior because they prevent cross-contamination. No air enters the canister, which means no bacteria can grow inside. This is the stabilizing force your ear needs during the long 12-month healing journey.
Common Aftercare Pitfalls
Avoid Q-tips at all costs. Their tiny cotton fibers easily get trapped in the tight folds of the rook anatomy. These fibers act as a breeding ground for bacteria and cause persistent irritation. Harsh liquids like tea tree oil, hydrogen peroxide, or alcohol are also detrimental. They are far too aggressive for fresh cartilage. They strip away the healthy cells your body is working hard to produce. When "crusties" or lymph fluid appear, don't pick or scratch them. Soften them with your saline spray during your routine. They will fall away naturally when the underlying tissue is ready. To maintain your healing momentum, use a professional-grade saline piercing aftercare spray to keep the site pristine and calm.
Troubleshooting the "Rook Bump": Prevention and Solutions
The appearance of a "rook bump" is often the most frustrating phase of your recovery. It is a localized signal that your body is struggling with a specific stressor. Most of these bumps are not infections but rather hypertrophic scarring or irritation bumps. They are a physical response to persistent friction, pressure, or moisture. Distinguishing between these and a true infection is vital. A true bacterial infection involves radiating heat, throbbing that worsens over time, and a thick, discolored discharge. If you experience fever or spreading redness, seek medical attention immediately. However, most issues in rook piercing pain and aftercare stem from simple mechanical irritation that can be corrected with discipline and patience.
The primary causes of these bumps are often environmental. Sleeping on the ear is the most common offender. This puts direct pressure on the antihelix ridge, causing the jewelry to shift. Moisture traps are another unique challenge for the rook. Because the piercing sits within a deep fold, water from showers can settle around the site, softening the tissue and inviting irritation. Finally, the "lever effect" occurs when the initial long jewelry is left in for too long. Once the initial swelling subsides, that extra length allows the bar to tilt and pull on the delicate fistula. Downsizing your jewelry with a professional is the clinical solution to eliminate this friction. Stability. Dryness. Precision.
Healing Oils and Targeted Treatments
When inflammation persists, targeted botanical support can help restore skin integrity. Using a piercing bump treatment oil provides a concentrated way to soothe the area without using harsh chemicals. Ingredients like jojoba oil and rosehip oil are excellent for maintaining skin elasticity and supporting the natural barrier of the ear. To apply these treatments, use a clean piercing cleaning swab to gently dab the oil around the base of the jewelry. Do not rotate the jewelry or attempt to "work" the oil into the hole. Your goal is to support the surrounding skin while keeping the jewelry seat undisturbed.
Long-term Maintenance and Health
Patience is your greatest ally. A rook piercing typically requires 6 to 12 months for full interior healing. Even if the outside looks pristine, the internal tissue remains fragile for nearly a year. To manage rook piercing pain and aftercare over the long term, adopt the "travel pillow trick" if you are a side sleeper. By placing your ear in the center hole of a U-shaped pillow, you can sleep comfortably without putting any weight on the piercing. Additionally, maintain a healthy immune system through proper hydration and nutrition. Your body's ability to repair cartilage is directly linked to your overall wellness. Stay steady, stay clean, and trust the process of your body’s self-expression.
Empower Your Aesthetic Evolution
Mastering your rook piercing pain and aftercare journey requires a sophisticated balance of anatomical respect and clinical discipline. You've now gained the specialist knowledge needed to navigate the 12-month healing timeline with absolute confidence. By prioritizing internally threaded, implant-grade jewelry and committing to a sterile saline routine, you ensure your self-expression remains both safe and beautiful. It's important to remember that patience is your most valuable tool. Avoid the temptation of premature jewelry changes and allow your body the time it needs to stabilize the new fistula.
We provide the stabilizing force you need through over 20 years of industry expertise and a dedication to ingredient integrity. Our selection includes US-manufactured aftercare solutions and premium implant-grade surgical steel or titanium jewelry designed for biological safety. Shop Expert-Approved Piercing Aftercare and Jewelry to secure the high-end results you deserve. We are proud to be your supportive specialist as you journey toward a refined and healthy aesthetic. Trust the process and wear your new look with pride.
Common Questions About Rook Piercing Recovery
How long does rook piercing pain last after the procedure?
The initial sharp sting lasts only seconds, while the secondary throbbing phase typically subsides within 48 to 72 hours. You should expect the area to remain tender to the touch for several weeks as the initial inflammation settles. Consistency in your rook piercing pain and aftercare routine during this first week is vital for a smooth transition into long term healing. Stay patient, stay clean, and stay disciplined.
Can I sleep on my side after getting a rook piercing?
You should avoid sleeping directly on the new piercing for at least six months to prevent migration and irritation bumps. Direct pressure restricts blood flow and forces the jewelry into unnatural angles. If you are a dedicated side sleeper, utilize a travel pillow by placing your ear in the center hole to eliminate contact with the mattress. This simple adjustment protects your aesthetic investment and ensures a stable recovery.
Is it normal for my rook piercing to bleed the first few days?
Minor spotting or "crusties" are normal during the first three to five days of the healing process. Cartilage piercings often experience intermittent bleeding as the body begins to seal the wound. Simply flush the area with a saline piercing aftercare spray and avoid picking at any dried blood to prevent reopening the delicate tissue. Your body is a self-healing organism; give it the space to work.
What should I do if I see a small bump forming on my rook?
You should first identify the cause of the irritation, which is usually related to sleeping habits, moisture traps, or jewelry friction. Switch to a disciplined cleaning routine and consider applying a piercing bump treatment oil to soothe the localized inflammation. Most bumps are not permanent. They are biological signals that the area needs more protection and less physical interference from your hands or hair.
Can I go swimming in a pool or the ocean with a new rook piercing?
You must avoid submerged water for at least eight weeks to protect the open wound from bacteria and harsh chemicals. Chlorine causes extreme dryness and irritation, while natural bodies of water harbor microorganisms that lead to infection. If you must swim, use a waterproof bandage and follow up immediately with a thorough saline rinse to maintain site purity. Safety, hygiene, and protection are your top priorities.
How do I know if my rook piercing is infected or just irritated?
An infected piercing typically exhibits radiating heat, thick yellow or green discharge, and persistent swelling that travels beyond the piercing site. Irritation is usually characterized by localized redness and clear or white fluid. Understanding the nuances of rook piercing pain and aftercare helps you distinguish between a temporary setback and a situation requiring medical intervention. When in doubt, consult your specialist for a professional assessment.
When can I finally change my rook jewelry to a hoop?
You should wait a minimum of six to nine months before transitioning from a curved barbell to a hoop or captive bead ring. Cartilage heals from the outside in, meaning the internal channel remains fragile long after the surface looks healthy. Changing to a hoop too early introduces "ring burn" and can restart the entire inflammatory cycle. Wait for the biological green light before you evolve your style.


